Okay, so yesterday I decided to make some tamarindo concentrate, you know, that delicious sweet and sour stuff you can use for drinks or sauces. I’ve made it before, but this time I thought, “Why not document the whole process?” So, here’s how it went down:
Getting Started
First, I gathered my ingredients. I grabbed:
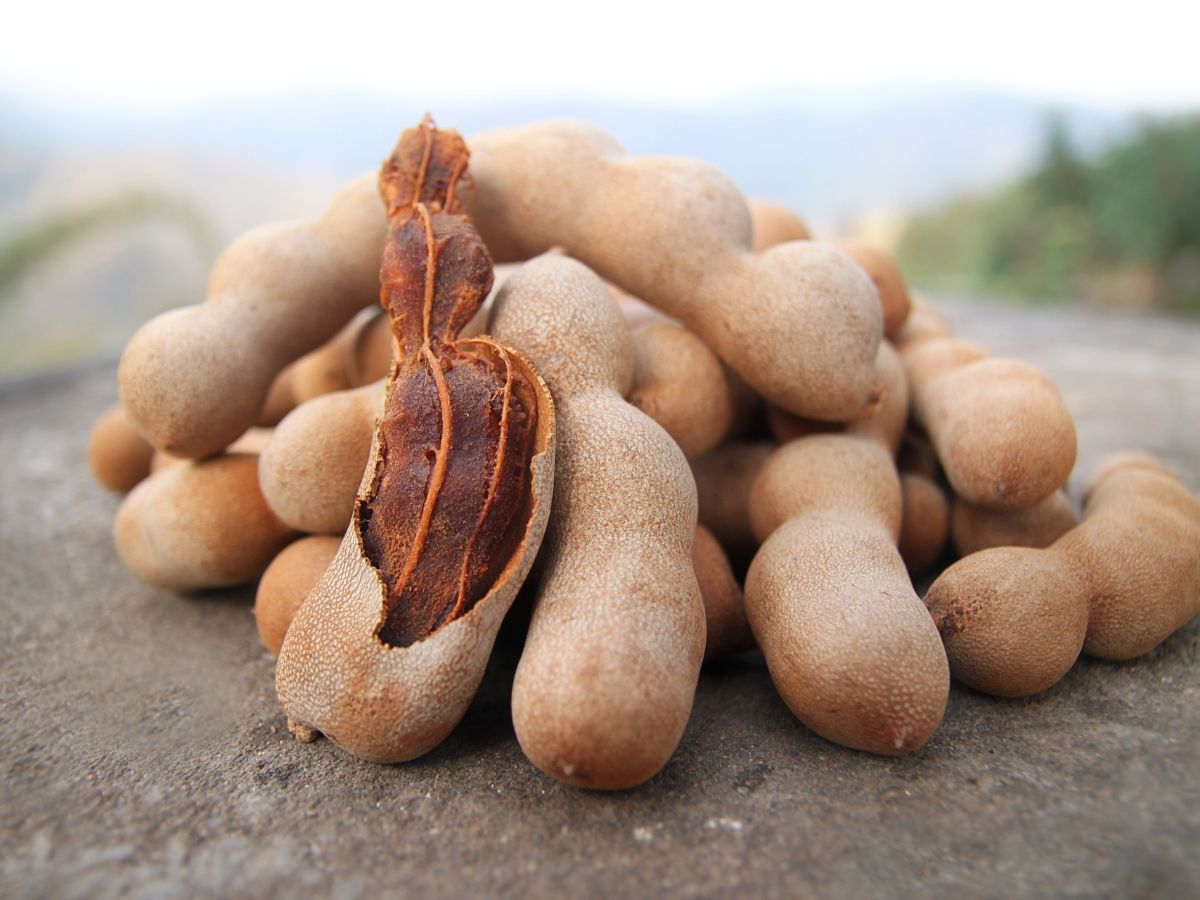
- About 2 pounds of dried tamarind pods. The ones with the shells still on.
- A bunch of water. I didn’t measure, just eyeballed it.
- Sugar. Again, no measuring, just went by taste.
- A big pot.
- A strainer, the finer the mesh, the better.
- A couple of bowls.
- And my trusty wooden spoon.
The Process
I started by cracking open all those tamarind pods. This took a while, and it’s kind of messy, but satisfying. I pulled out the sticky pulp and discarded the shells and any hard fibers I found.
Next, I dumped the tamarind pulp into the big pot and added enough water to cover it completely. I probably used around 8 cups, but it depends on how much pulp you have. I brought the whole thing to a boil, then turned the heat down to a simmer.
I let it simmer for a good 30 minutes, maybe 40. I stirred it occasionally with my wooden spoon, making sure the pulp was breaking down and the water was turning a nice, dark brown color. It smelled amazing, by the way. Tangy and sweet.
Once the pulp was nice and soft, I took the pot off the heat and let it cool down a bit. You don’t want to burn yourself with boiling tamarind!
Then came the straining. I placed my strainer over a bowl and carefully poured the tamarind mixture through it. I used the back of my spoon to press down on the pulp, squeezing out as much of that delicious liquid as possible. This part is important – you want to get all that flavor!
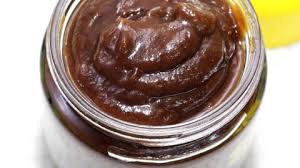
After straining, I ended up with a thick, dark brown liquid in the bowl. I discarded the leftover pulp in the strainer.
Now, for the sweetening. I poured the strained tamarind liquid back into the pot. I added sugar, a little bit at a time, stirring and tasting until it reached the perfect level of sweetness for me. Remember, you can always add more, but you can’t take it away, so go slow!
I brought the mixture back to a simmer for another 10-15 minutes, just to make sure the sugar was completely dissolved and everything was well combined.
The End
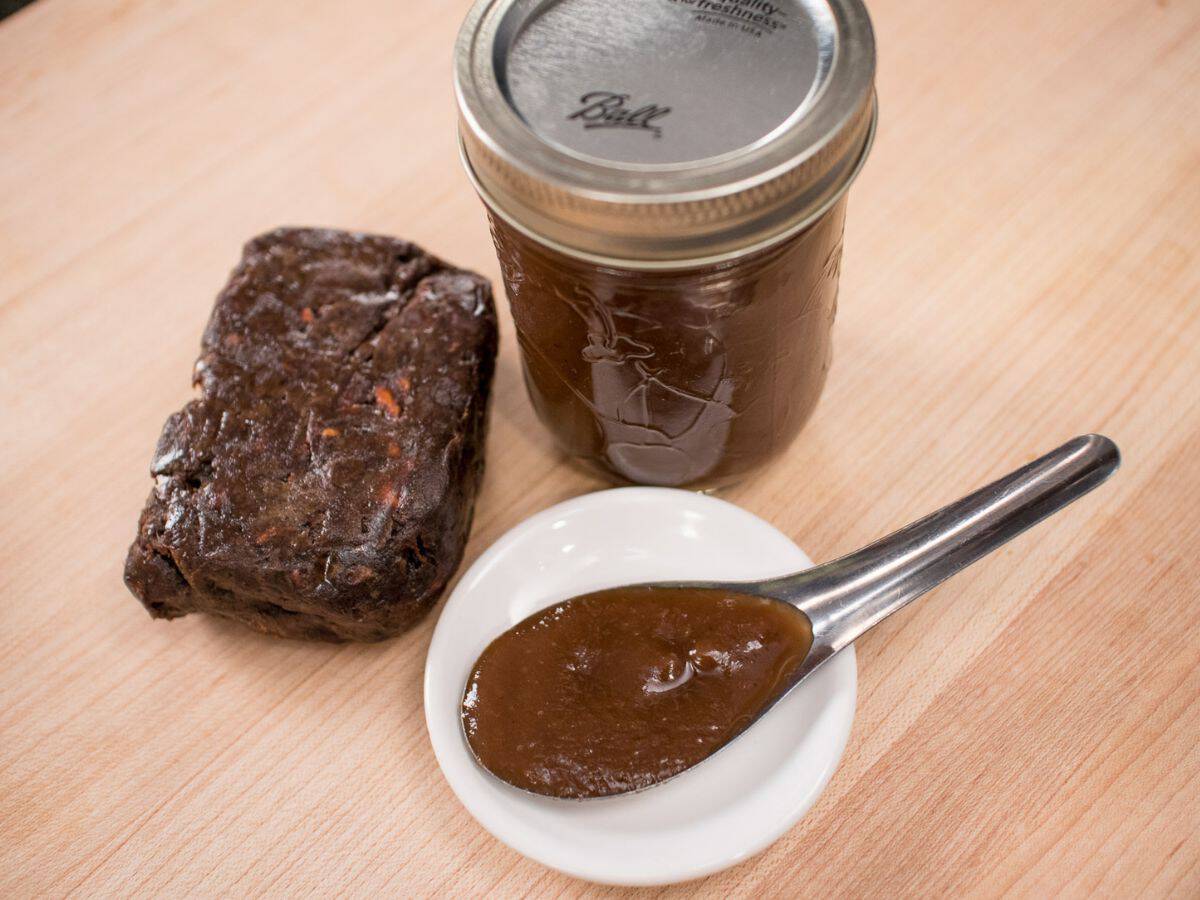
Finally, I took it off the heat and let it cool completely. Once cooled, I poured my homemade tamarindo concentrate into jars. I stored it in the fridge, where it should last for a few weeks. If it lasts that long.
That’s it! My little tamarindo concentrate adventure. It’s a bit of work, but totally worth it. Now I have a tasty base for aguas frescas, marinades, and whatever else I can dream up!


Post Comment