
Hey everyone, it’s your boy back again with another fun little project I tried out. This time, I decided to get a bit fancy and make a charcuterie board. You know, those trendy platters with all sorts of meats, cheeses, and other goodies? Yeah, those things. I’ve seen them all over social media, and they always look so impressive. So, I thought, why not give it a shot myself? And let me tell you, it was quite the experience!
First off, I had to figure out what the heck goes on a charcuterie board. I did a little digging online and found this “3-3-3-3 Rule”. Apparently, you’re supposed to have 3 types of cheese, 3 meats, 3 starches, and 3 other things like fruits or nuts. Sounds simple enough, right? Well, let’s just say it’s easier said than done.
I started with the starches, figuring I’d get the crackers out of the way first. I went to the grocery store and, boy, was I overwhelmed. There are so many types of crackers! I ended up grabbing a box of water crackers, some multigrain ones, and those thin, crispy breadsticks. I figured that would cover my bases and offer a good variety.
Then came the fun part – choosing the meats and cheeses. I tried to pick a variety of flavors and textures. For the meats, I went with some classic prosciutto, salami, and some spicy chorizo. For the cheeses, I got a soft brie, a sharp cheddar, and a block of gouda. I felt like a true connoisseur, carefully selecting each item. It was low-key thrilling, not gonna lie.
Next up were the “accompaniments.” I grabbed some grapes, a handful of almonds, and a small jar of honey. I also picked up some olives because, why not? They looked fancy. I was starting to feel pretty good about my choices.
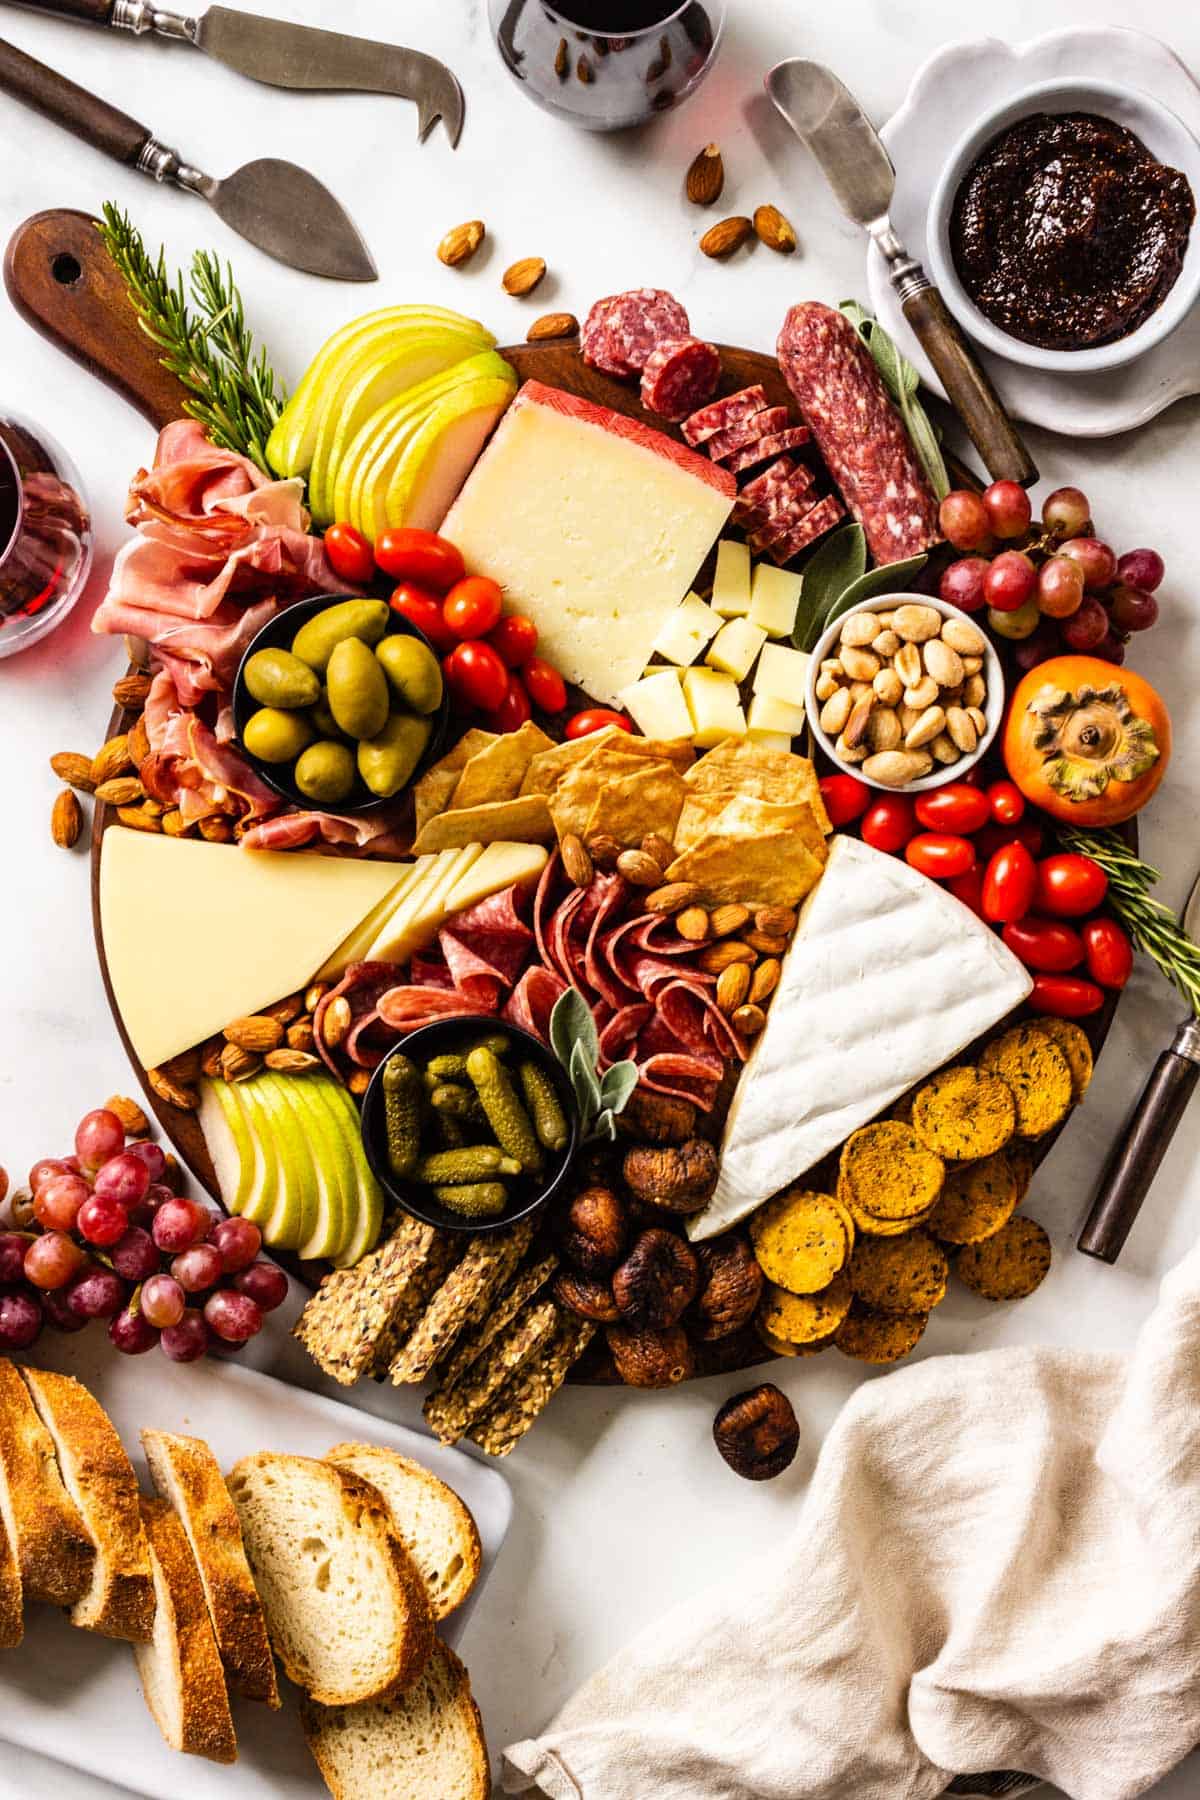
Assembling the board was the real challenge. I laid down some parchment paper on a wooden board I found in the back of my cupboard. I started with the crackers, arranging them in different sections. Then I added the meats, folding some and rolling others to make them look presentable. The cheeses were next. I sliced the cheddar and gouda and left the brie whole, with a small knife on the side. Finally, I filled in the gaps with the grapes, almonds, olives, and a small bowl of honey. I even added a few sprigs of rosemary for that extra touch of elegance.
After all that, I finally stood back to admire my creation. It actually looked pretty good! I was super proud of myself. I took a few pictures, obviously, and then dug in. It tasted as good as it looked, maybe even better. I felt like a true chef, even though I just put some stuff on a board.
Here are some tips, take them if you need them:
- Don’t overthink it: Seriously, just pick stuff you like.
- Variety is key: Try to get a mix of flavors and textures.
- Make it look nice: Half the fun is making it look pretty, right?
- Have fun: It’s all about enjoying the process and the end result!
Conclusion
So, there you have it, my charcuterie board adventure. It was a lot of fun, and I highly recommend giving it a try. It’s a great way to impress your friends or just treat yourself to something special. Plus, you get to eat a bunch of delicious stuff. What’s not to love? Until next time, folks!


Post Comment