Cooking a whole chicken can sometimes be a daunting task, especially considering the different cooking methods and their respective times. However, with the Ninja Foodi, this task becomes a lot simpler and faster. The convenience of cooking a tender, juicy, and flavorful whole chicken in a shorter period is why many home cooks are opting for pressure cookers like the Ninja Foodi. Let’s delve into the essentials of pressure cooking a whole chicken in the Ninja Foodi to ensure that your meal turns out perfectly every time.
Understanding Pressure Cooking With Ninja Foodi
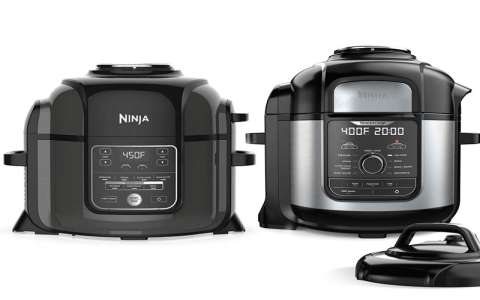
Before we get into the specifics of cooking times, it’s important to understand why pressure cooking is so effective. The Ninja Foodi, with its multifunctional capabilities, combines the wonders of pressure cooking with the benefits of air frying and slow cooking. Pressure cooking, in particular, uses steam and high pressure to cook food quickly. This method is fantastic for locking in flavors and nutrients, producing a succulent and tender chicken that’s hard to resist.
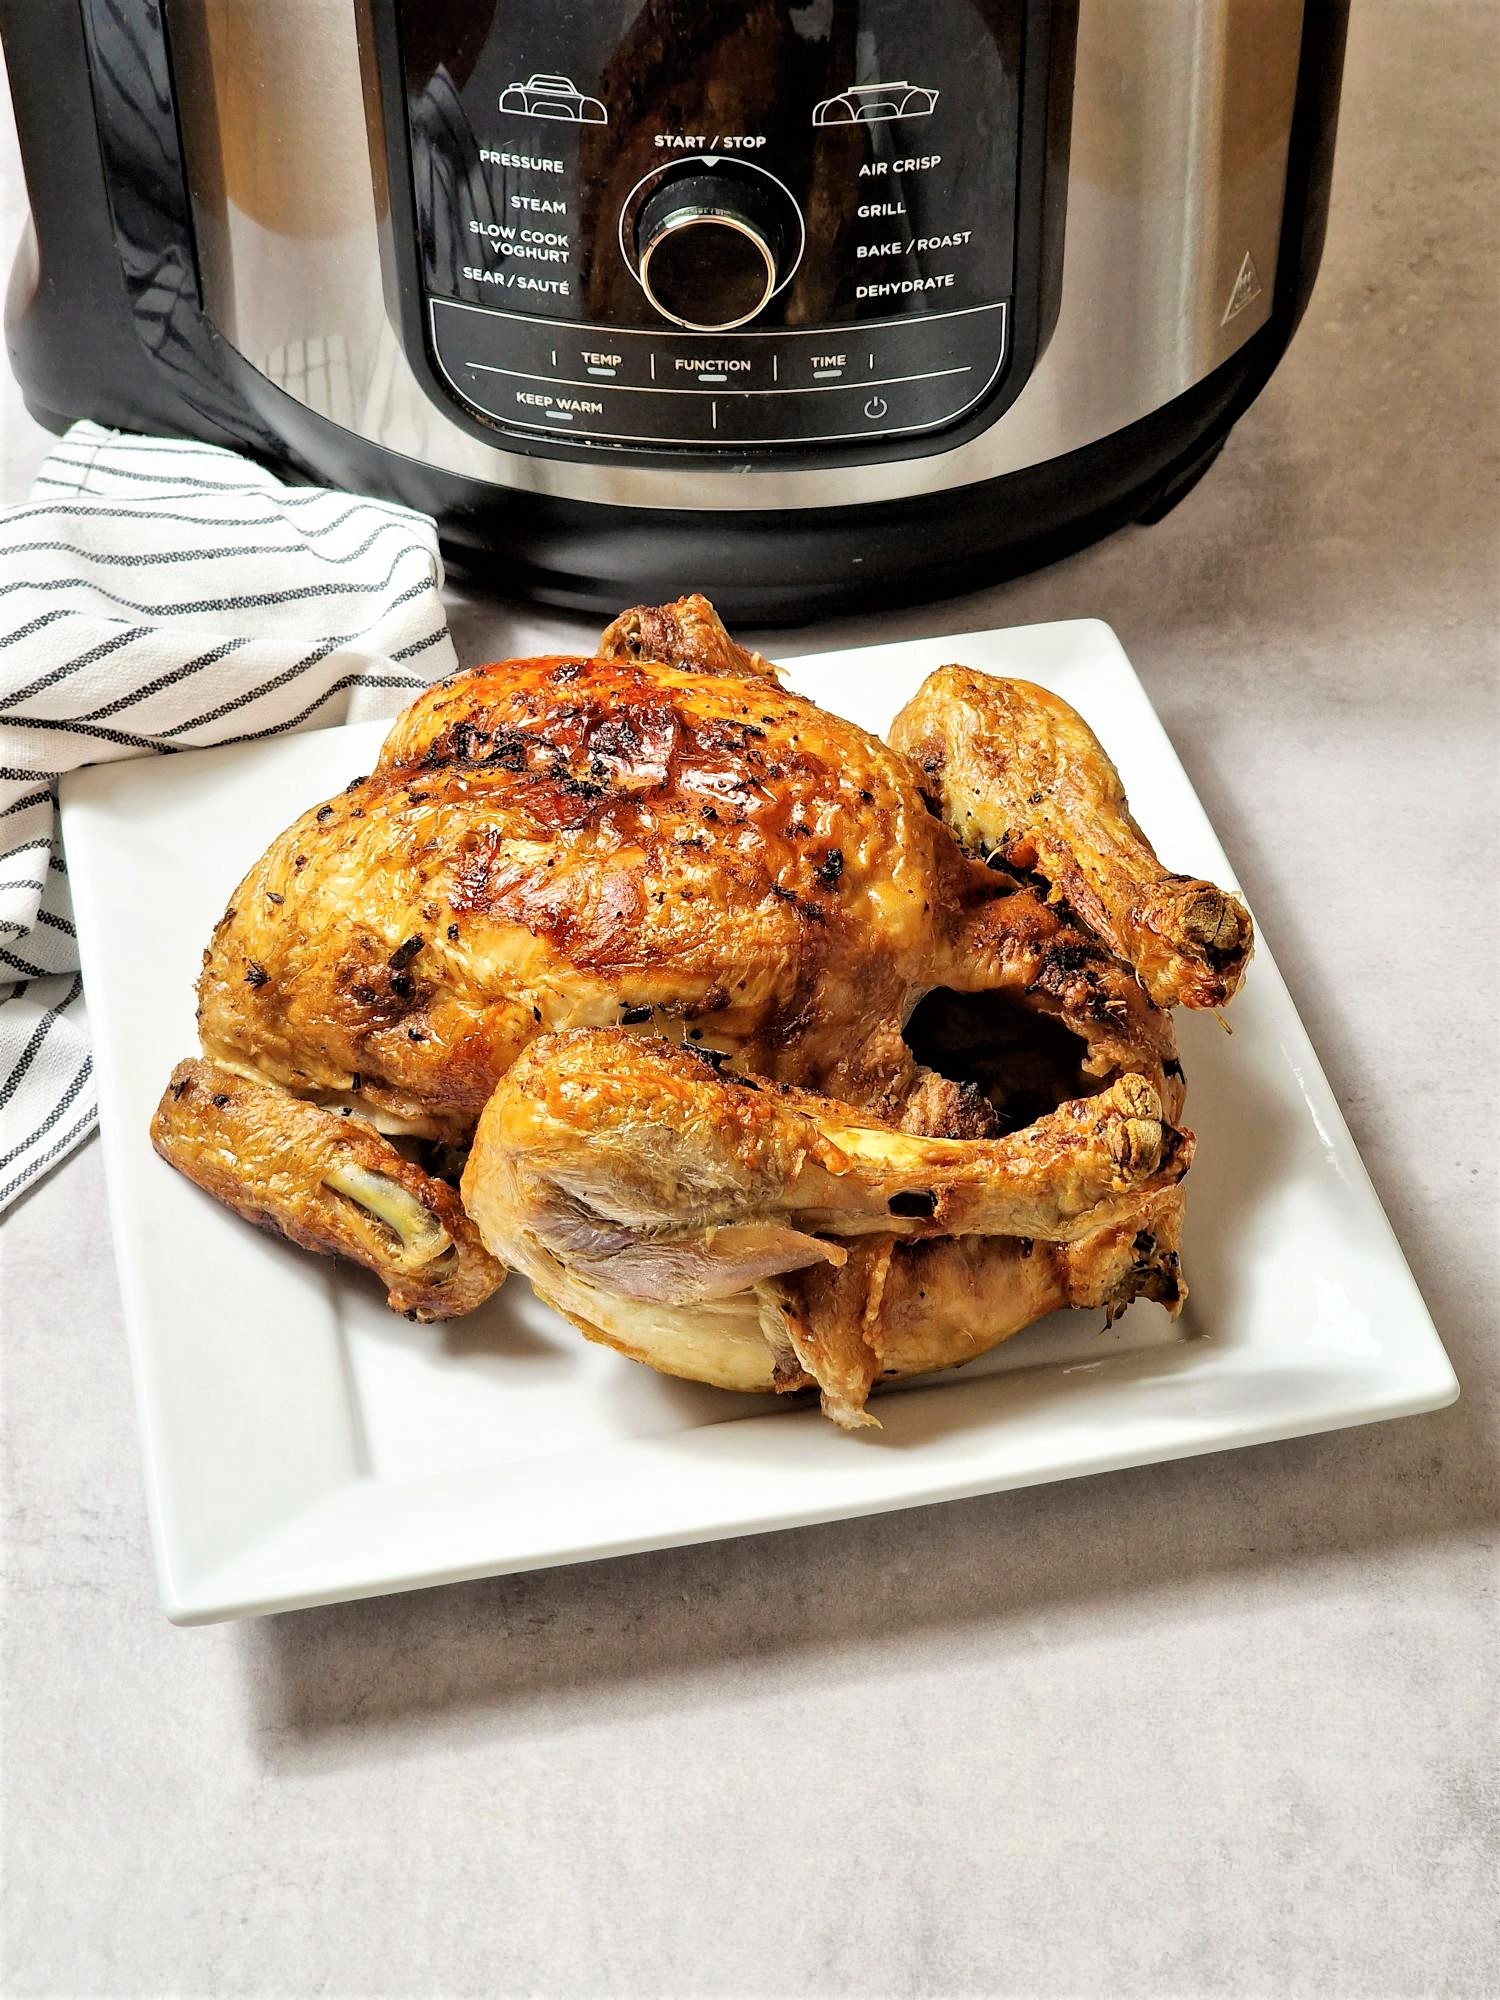
When cooking a whole chicken, the general rule of thumb with the Ninja Foodi is to allot around 6 minutes per pound. This means that a 4-pound whole chicken would take approximately 24 minutes to pressure cook. Once the cooking time is up, another important step is allowing for a natural release of pressure for about 10 minutes before manually releasing the remaining steam. This technique ensures that the juices redistribute within the chicken, enhancing its flavor and tenderness.
Preparation Tips for a Delicious Whole Chicken
Before placing your chicken in the Ninja Foodi, taking a few preparatory steps can make a noticeable difference in the final result. Begin by seasoning the chicken both inside and out. A mixture of salt, pepper, garlic powder, and herbs can provide a fantastic base of flavor. For an added aromatic boost, consider placing a quartered onion or lemon inside the cavity of the chicken.
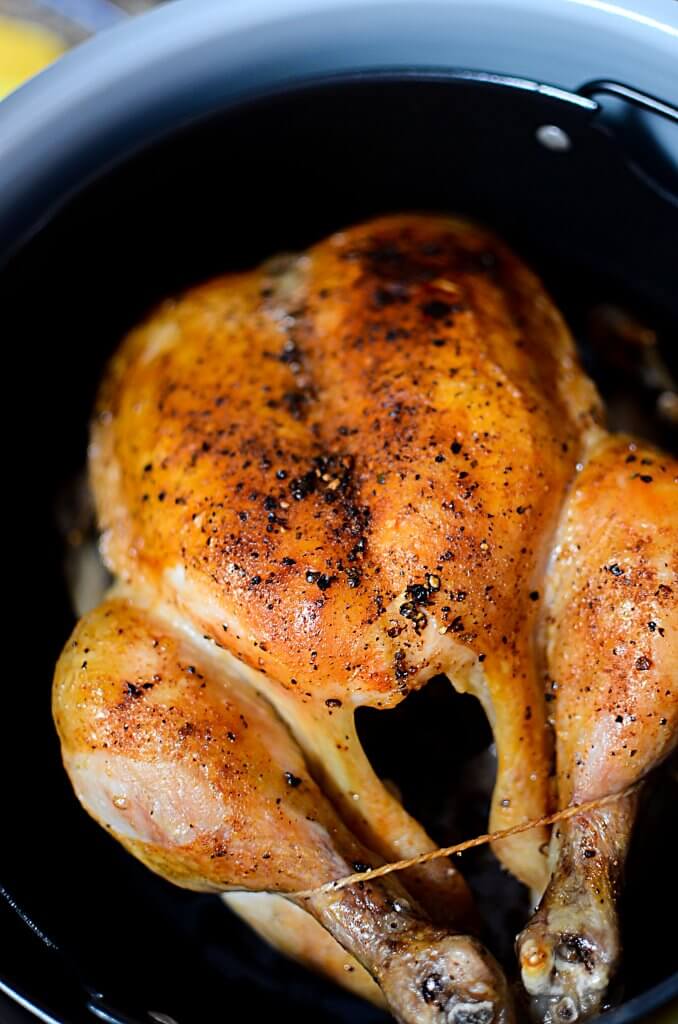
To achieve a golden-brown crispy skin, which is a desired trait by many, lightly coat the chicken skin with olive oil or melted butter. The Ninja Foodi’s air fryer feature can then be used after pressure cooking. Simply transfer the chicken to the air crisp basket and air fry at 400°F for about 10 minutes or until the skin reaches the desired crispiness.
Making the Most Out of Your Cooking Experience
While the Ninja Foodi offers efficiency, the beauty of this kitchen gadget is its versatility. With the whole chicken cooking to perfection, consider creating a complete meal by utilizing the pot to simultaneously cook vegetables. Vegetables like potatoes, carrots, and onions can be added to the pot. They will cook perfectly as they soak up the flavors from the chicken, resulting in a delicious side dish.
Using the leftover chicken broth after cooking is another excellent way to maximize the flavors from the whole chicken. This broth can be a fantastic base for soups, gravies, or even stored for later use in other recipes.
Concluding Thoughts on Pressure Cooking with Ninja Foodi
Pressure cooking a whole chicken in the Ninja Foodi is not only efficient but also brings out such rich flavors and texture that it may quickly become your preferred cooking method. By understanding the key timing elements, embracing the preparation tips, and tapping into the versatility of this appliance, you can enjoy a stress-free cooking experience with a succulent result. So the next time you plan a meal with a whole chicken, trust your Ninja Foodi to deliver a delightful culinary experience.


