
Okay, so I wanted to make some cookies today, and I thought, why not try something with a little extra chocolate? So I decided to give the Hershey’s Double Chocolate Chip Cookie recipe a go. I’ve made regular chocolate chip cookies before, but double chocolate? That’s a whole new level of deliciousness I had to explore.
First off, I gathered all my ingredients. It’s pretty standard stuff – butter, sugar, eggs, vanilla extract, flour, baking soda, salt, and of course, the stars of the show: cocoa powder and a generous amount of chocolate chips. I made sure I had everything laid out because, let’s be real, there’s nothing worse than getting halfway through a recipe and realizing you’re missing something crucial.
I started by creaming together the butter and sugar. I just used a hand mixer, and it worked out pretty well, I guess. After that, I beat in the eggs one at a time, then stirred in the vanilla. In a separate bowl, I whisked together the dry ingredients – flour, cocoa powder, baking soda, and salt. I used Hershey’s cocoa powder because, well, it’s a Hershey’s recipe, right?
Mixing and Baking
Next, I gradually added the dry ingredients to the wet ingredients, mixing until it was just combined. You don’t want to overmix it, or the cookies will be tough. Then came the best part – stirring in the chocolate chips! I used a mix of milk chocolate and semi-sweet chocolate chips because I like that combination.
- Cream butter and sugar together.
- Beat in eggs and vanilla.
- Whisk dry ingredients separately.
- Combine wet and dry ingredients.
- Stir in chocolate chips.
I dropped rounded tablespoons of dough onto ungreased baking sheets, making sure to leave some space between each one. They went into a preheated oven at 375°F (190°C). Now, here’s a little trick I learned: since these cookies are already dark because of the cocoa powder, it can be a bit tricky to tell when they’re done just by looking at the color. So, I checked them after about 8 minutes, giving one a gentle tap on the edge. If the edge feels a bit firm but not rock-hard, they’re good to go!
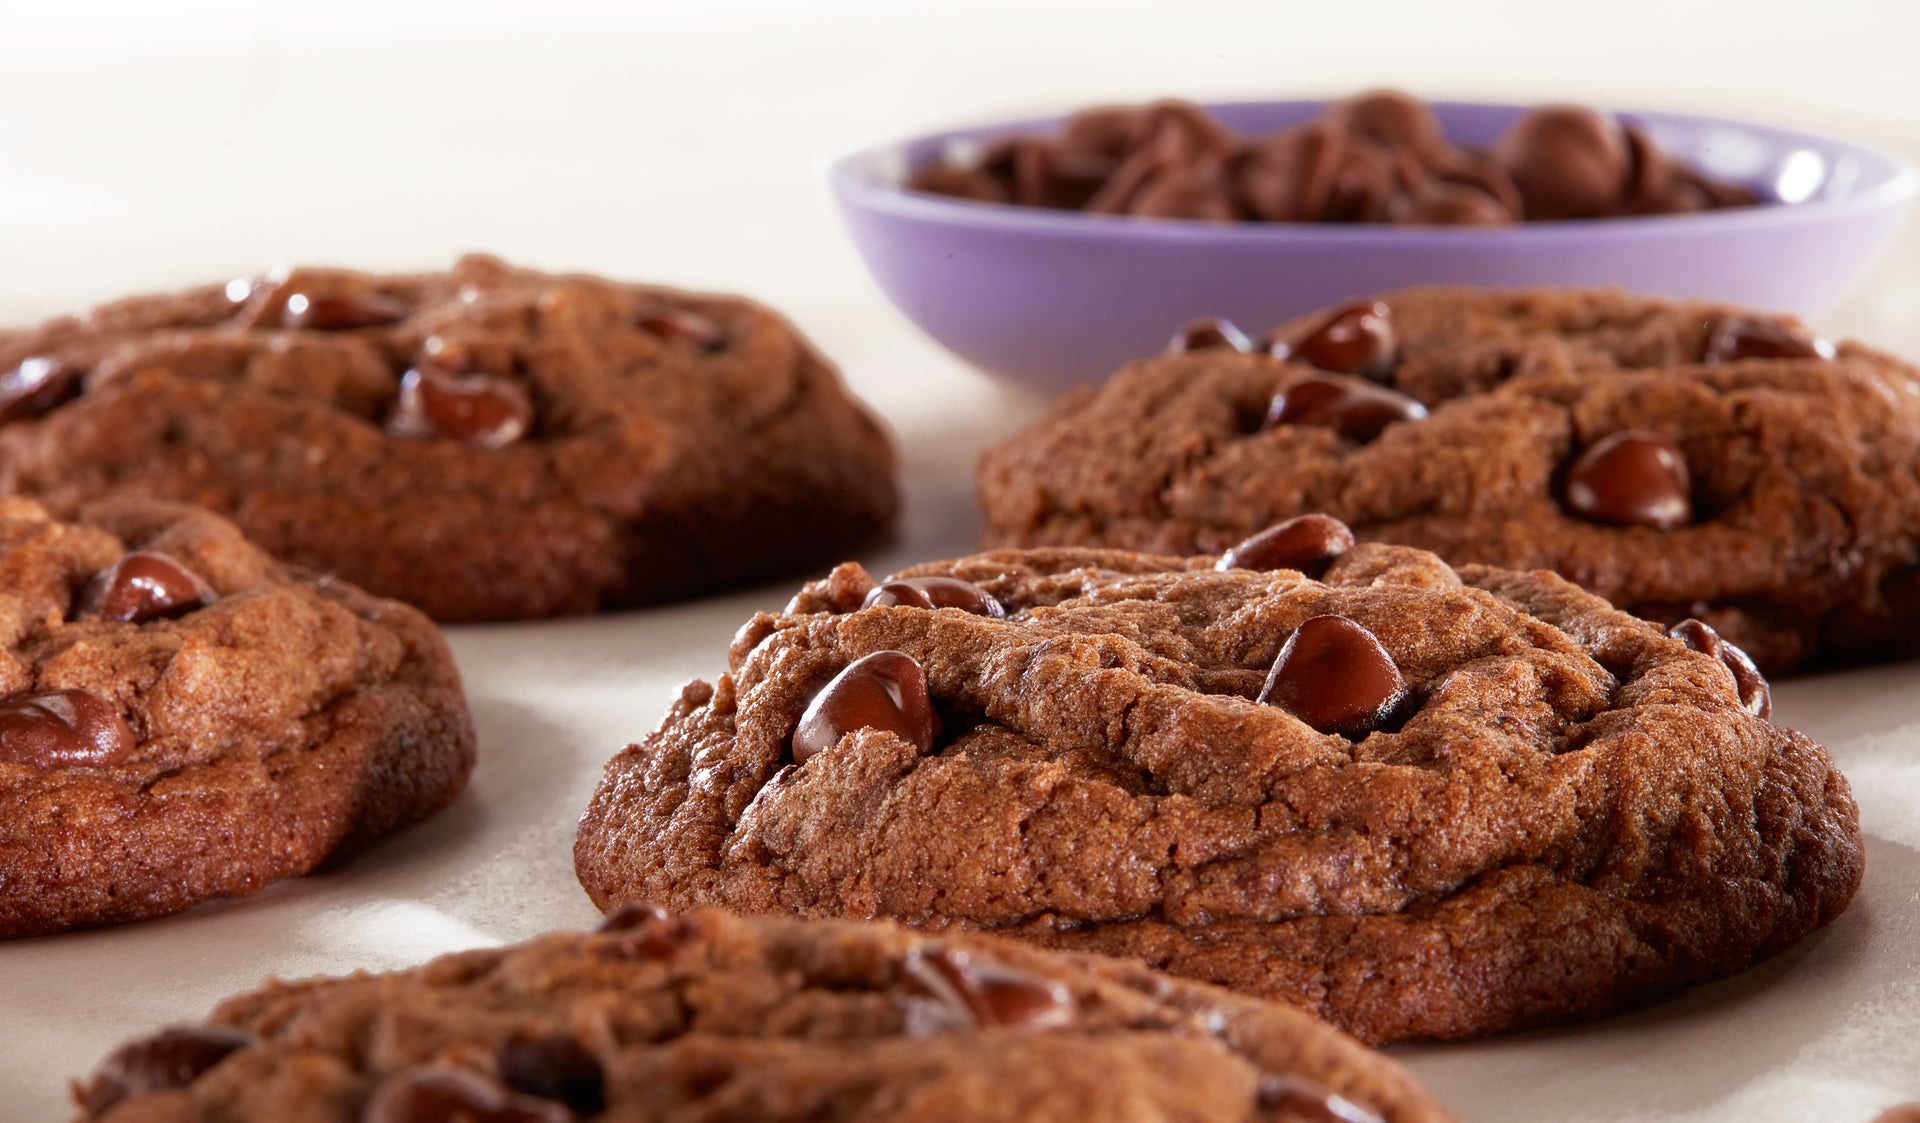
I let them cool on the baking sheet for a few minutes before transferring them to a wire rack to cool completely. They smelled absolutely amazing while they were baking, and let me tell you, they tasted even better. They were rich, chocolatey, and had just the right amount of chewiness. These cookies were a hit, and I’ll definitely be making them again. Honestly, they might just be my new favorite cookie recipe. Seriously, you gotta try this one out!


Post Comment