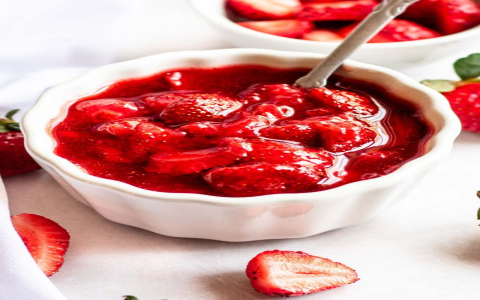
Okay, so I wanted to make a cake with those shiny, glazed strawberries on top. You know, the ones that look super fancy? I tried it out, and let me tell you, it was a bit of a journey. But I got it down, and I’m here to share how I did it.
Getting Started
First things first, I grabbed my strawberries. You want to pick the best ones, right? So, I made sure they were nice and ripe but not too soft. And yeah, I washed them real good and dried them off. Can’t have wet strawberries messing things up.
Making the Glaze
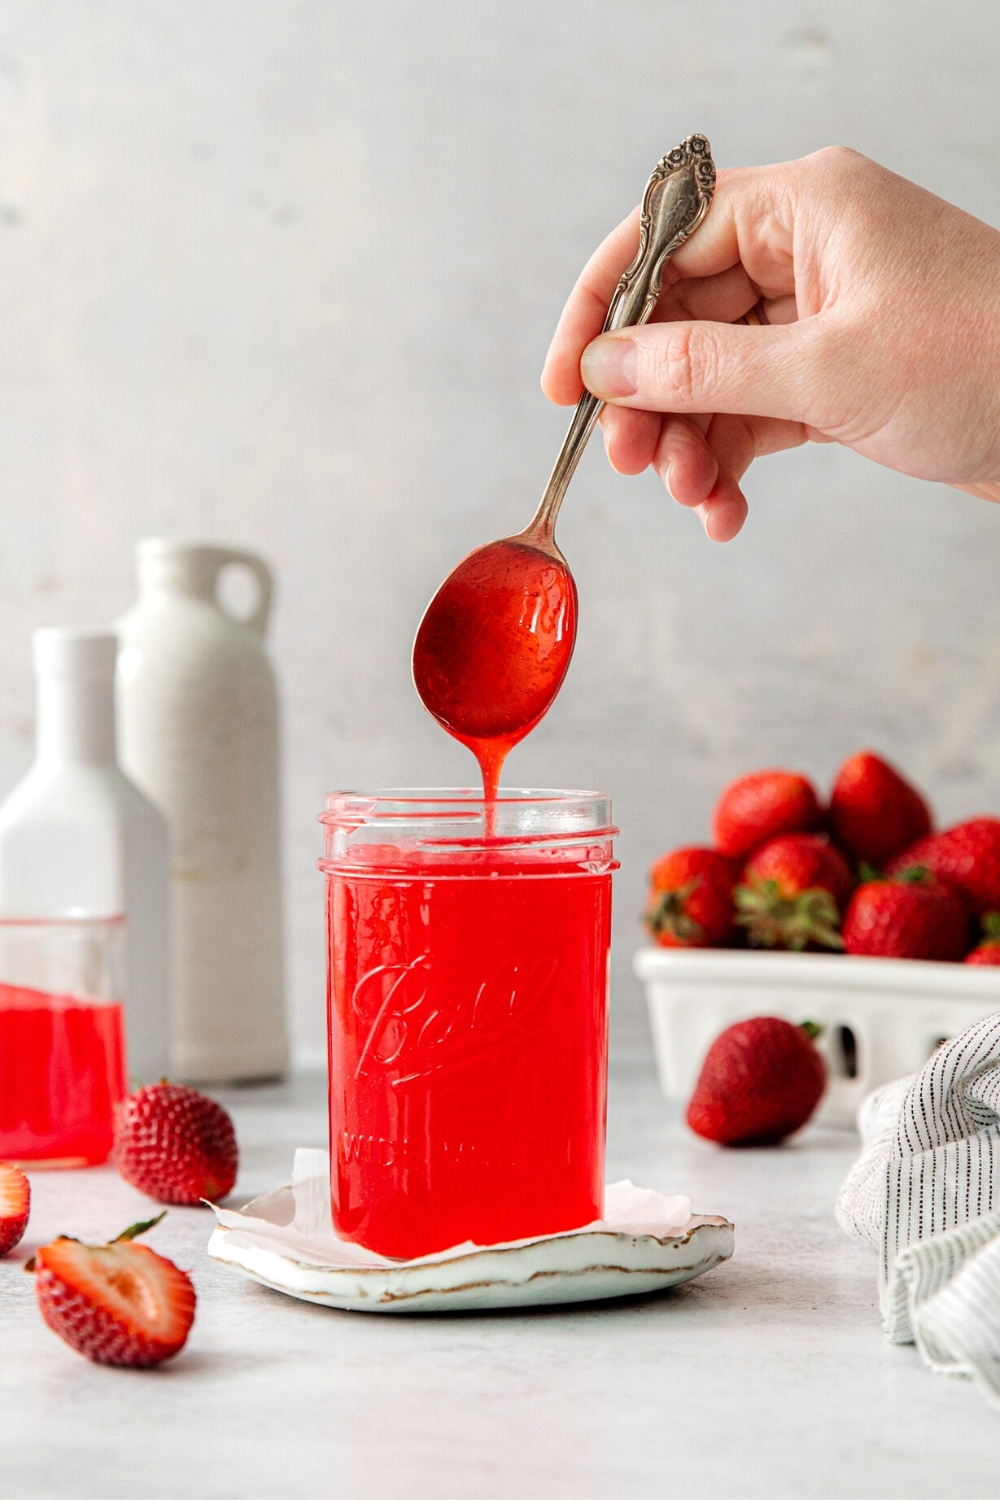
Next up, the glaze. I mixed some sugar and water in a pot. I put it on the stove, medium heat. The key here is to keep an eye on it. I stirred it until the sugar all melted. Then, I just let it do its thing, no more stirring. It started to bubble and slowly turned a light brown color. It’s like watching magic, seriously.
Dipping Time
Now for the fun part, or the scary part, depending on how you look at it. I poked a toothpick into each strawberry. One by one, I dipped them into the hot sugar. It’s hot, so be careful! I made sure each strawberry was all covered in that shiny glaze. After dipping, I placed them on some parchment paper. It’s important because they won’t stick.
Cooling Down
- After all the strawberries were dipped, I just let them sit there and cool off.
- They hardened up pretty quickly, turning all glossy and beautiful.
- It’s tempting to touch them, but trust me, let them be for a bit.
The Final Touch
Once they were all cool and hard, I arranged them on my cake. Let me tell you, it looked amazing. Like something out of a bakery window. And the taste? Oh boy, that sweet, crunchy glaze with the juicy strawberry? It was perfect.
So yeah, that’s how I made glazed strawberries for a cake. It took some time and a bit of patience, but it was totally worth it. If I can do it, you definitely can too. Just remember to be careful with the hot sugar and have fun with it!


Post Comment