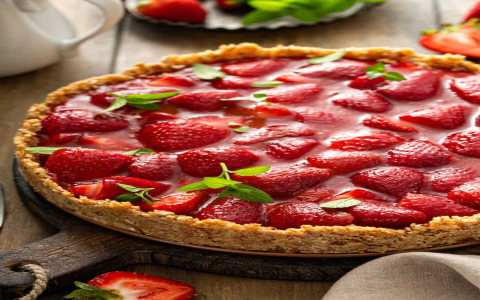
Okay, so I tried my hand at canning strawberry pie filling today, and let me tell you, it was a bit of an adventure. I’ve always loved strawberry pie, and I figured, why not have that goodness all year round? So, I grabbed my apron and got to work.
Getting Started
First things first, I had to gather all my ingredients. I made sure I had a bunch of fresh, ripe strawberries, some sugar, and lemon juice. I also found this stuff called Clear Jel, which apparently is the secret to getting that perfect, thick pie filling without making it all weird and cloudy like other thickeners. Some folks use flour or tapioca starch. I don’t know much about it, but I got this.
Making the Filling
I started by washing and hulling the strawberries. Then, I sliced them up into a big pot. I added the sugar and lemon juice, giving it all a gentle stir. I let that mixture sit for a bit so the strawberries could release their juices. I think the fancy term for this is macerating, but I just call it letting the strawberries get all juicy.
Next, I put the pot on the stove and brought it to a simmer. I kept stirring every now and then. The recipe said not to mash the strawberries too much, so I tried to be careful. I wanted to have some nice chunks of strawberries in my filling. After simmering for a while, I mixed the Clear Jel with a bit of water to make a slurry, and then I slowly added that to the strawberry mixture. It’s like magic, it became thickened.
Canning Process
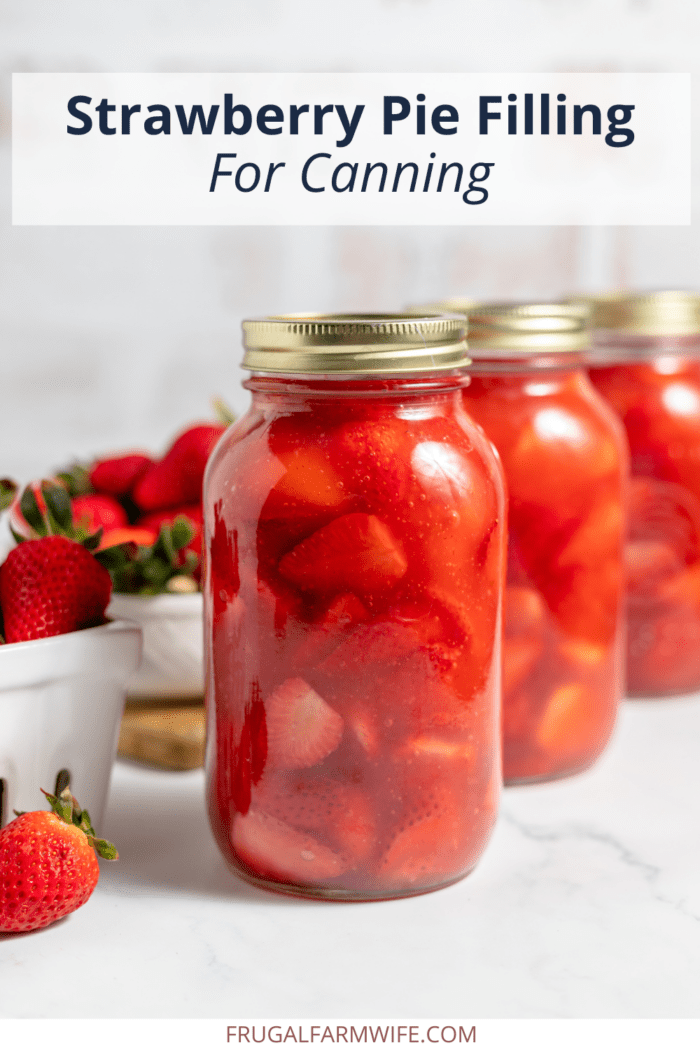
Once the filling was thickened, I carefully ladled it into sterilized jars. I made sure to leave some headspace at the top. Then, I wiped the rims of the jars to make sure they were clean, and I put the lids and bands on. Finally, I processed the jars in a boiling water bath. The recipe said to process them for about 30 minutes, so that’s what I did.
After processing, I took the jars out and let them cool on the counter. I heard the satisfying “pop” sounds as the lids sealed, which is always a good sign. Now, I’ve got jars of homemade strawberry pie filling that I can use anytime I want.
What I Learned
- Clear Jel is Key: This stuff is apparently the best for canning pie fillings because it doesn’t break down during processing and keeps the filling nice and clear.
- Patience is a Virtue: The whole process takes some time, from prepping the strawberries to processing the jars. Rushing things is never a good idea when canning.
- It’s Worth It: Yeah, it was a bit of work, but now I have a bunch of delicious strawberry pie filling ready to go. I can’t wait to use it in a pie or even just over some ice cream.
So, that’s my adventure in canning strawberry pie filling. It was a fun and rewarding experience, and I’m already thinking about what other fruits I can try canning next. Maybe peaches? Or blueberries? The possibilities are endless!


Post Comment