Alright, folks, gather ’round! Today, I’m gonna share my little adventure of making a gluten-free pumpkin pie with a graham cracker crust. Yeah, you heard that right, gluten-free! Now, I ain’t no professional baker, but I do love messing around in the kitchen, and this one turned out pretty darn good, if I do say so myself.
Getting Started
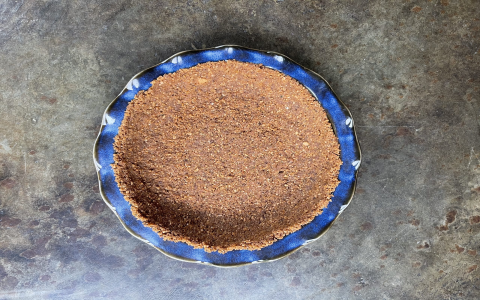
First things first, I had to get all my ingredients together. For this pie, I knew I needed a good gluten-free pie crust. I could’ve made one from scratch, but let’s be real, sometimes you just want to keep things simple. So, I grabbed a pre-made gluten-free pie crust from the store. No shame in that game!
Mixing It Up
Next up, the filling. I got a large mixing bowl and started whisking away. In went some pumpkin puree – the real star of the show. Then, I added coconut milk, which gives it this nice, creamy texture. For sweetness, I used maple syrup. It’s a bit healthier than regular sugar, and I like the flavor it brings. Of course, I needed a couple of eggs in there to bind everything together. And a splash of vanilla extract, ’cause why not?
Spice It Up
Now, you can’t have a pumpkin pie without spices! I’m talking cinnamon, nutmeg, ginger – the whole shebang. I just eyeballed the amounts, to be honest. I like my pie with a good kick of spice, so I was pretty generous with them. I whisked everything together until it was all nice and smooth. No lumps allowed!
Baking Time
With the filling ready, I poured it into my pie crust. Then, into the oven it went. I preheated my oven to 350F, which is like the magic number for baking pies, it seems. I baked it for about 50-60 minutes. You’ll know it’s done when the center is just set but still a little jiggly.
Cooling Down
Once it was out of the oven, I let it cool down completely on a wire rack. This is important, people! You gotta let the pie settle and firm up. It’s tempting to dig in right away, but trust me, it’s worth the wait.
The Taste Test
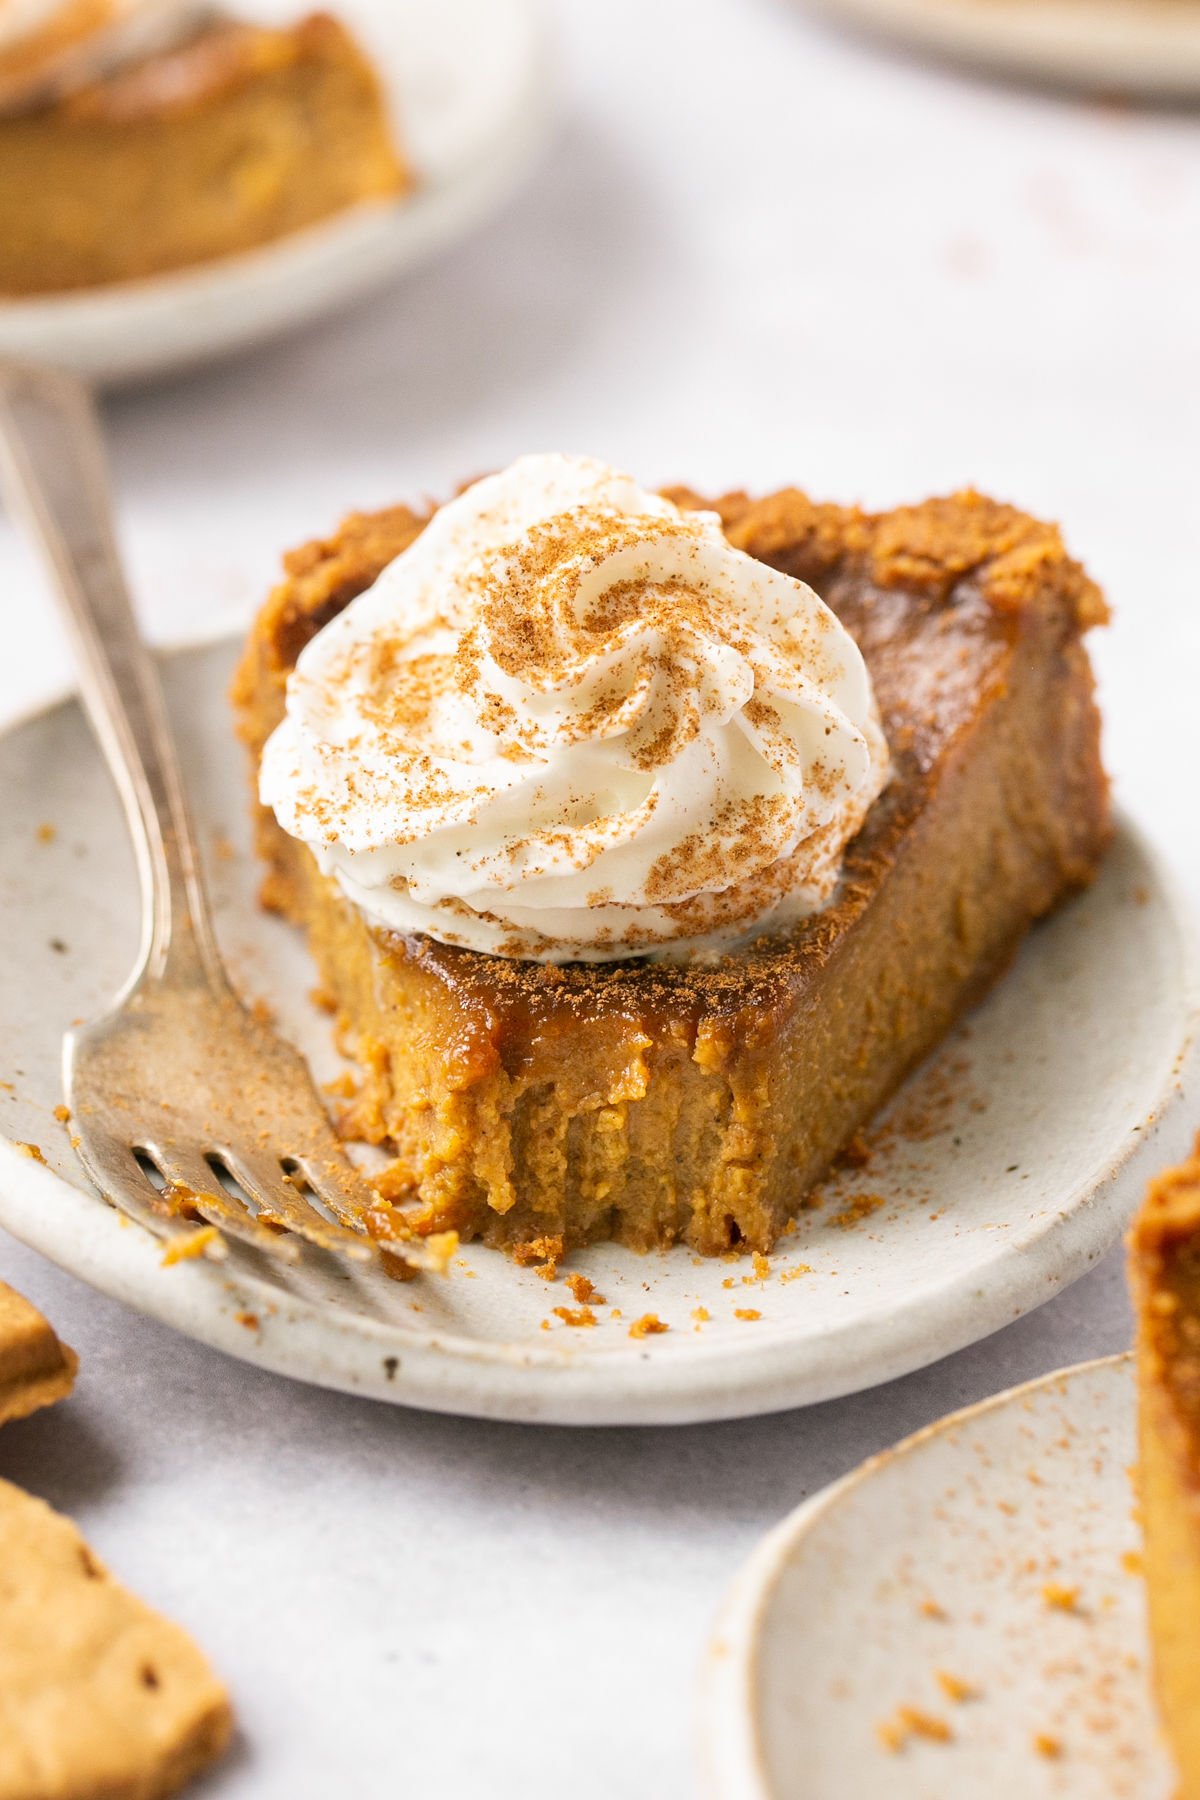
Finally, the moment of truth! I sliced myself a piece and took a bite. Oh boy, was it good! The crust was nice and crumbly, and the filling was smooth, creamy, and packed with pumpkin flavor. The spices were just right, giving it that warm, cozy feeling. I was pretty proud of myself, not gonna lie.
So, there you have it, my gluten-free pumpkin pie adventure. It wasn’t too hard, and the result was delicious. If you’re looking for a tasty treat that’s also gluten-free, give this a try. You might just surprise yourself!


Post Comment