Okay, so I’ve been seeing these short almond tips everywhere, and I finally decided to give them a try. I’m usually a long nails kind of girl, but I wanted something different, something more, I don’t know, practical?
Getting Started
First, I removed my old, grown-out set. That took a while, soaking them off and gently pushing the leftover stuff away. My nails were looking a little rough, not gonna lie.
Prepping My Nails
Next, I pushed back my cuticles. I’m always a little scared I’m gonna cut myself, so I go super slow. Then I buffed the surface of my nails just a bit, to make sure the tips would stick better. And, of course, I cleaned them with some alcohol to get rid of any oils or dust.

Applying the Tips
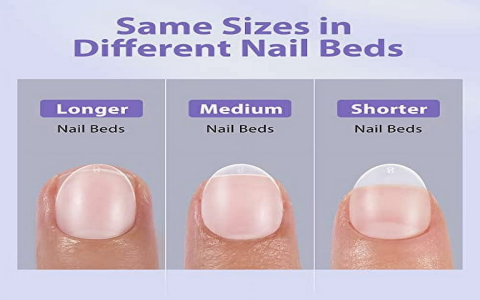
This was the tricky part. I picked out the right size tips for each nail – took a bit of trial and error. Then I applied a thin layer of nail glue to the tip and pressed it onto my natural nail, holding it for like, 30 seconds to make sure it was really secure. Some of them were a little crooked at first, but I managed to fix them before the glue totally dried.
- Tip: Don’t use too much glue! It’ll squish out the sides and make a mess.
Shaping and Filing
Once all the tips were on, I used clippers to shorten them to the length I wanted. I went pretty short, obviously. Then came the filing. I shaped them into that almond shape, which is kind of rounded at the top but still a little pointy. It took some patience to get them all even and smooth.
The Final Touches
After I was happy with the shape, cleaned dust that was produced during filing. Then I applied a thin layer of nail glue on top of the tip which conneted to nature nail.
Finally, My short almond tips were done! I am fully satisfied.
这回


Post Comment