Okay, folks, let’s talk about how I tackled a sirloin tip roast in my trusty Instant Pot. I’ve gotta say, this method is a game-changer. No more dry, tough roasts – we’re talking juicy, flavorful goodness, and it’s pretty darn easy, too.
Getting Started
First things first, I grabbed my roast. Now, these sirloin tip roasts can vary in size, but mine was a decent chunk of meat, probably enough to feed a small army. Before doing anything else, I gave it a good rinse under cold water and patted it dry with some paper towels. You want that surface nice and dry so it browns up nicely later on.
Seasoning is Key
Next up, the seasoning. I’m a big fan of keeping things simple, so I whipped up a quick mix in a small bowl. I combined some Montreal steak seasoning, because why not, with a good pinch of salt and a few grinds of black pepper. It really is quite simple but nice. Make sure to mix them thoroughly, it will help make the taste more even.
Sear for Flavor
- I rubbed that seasoning mix all over the roast, making sure to get every nook and cranny. You want that flavor to really penetrate the meat.
- Then, I set my Instant Pot to the “Sauté” function. It’s important to let it heat up properly, then I added a good glug of olive oil, because we don’t want to burn our food.
- Once the oil was shimmering, I carefully placed the roast in the pot and seared it on all sides until it had a nice, brown crust. It took a few minutes per side, but it’s worth it for that extra layer of flavor.
Pressure Cooking Time
- With the roast nicely seared, I took it out of the pot and set it aside for a moment.
- I poured in some beef broth, just enough to cover the bottom of the pot. You could also use water or even red wine if you’re feeling fancy.
- Then, I placed the roast back in the pot, put the lid on, and made sure the valve was set to “Sealing.”
- I selected the “Pressure Cook” or “Manual” function, depending on your Instant Pot model, and set the timer.
The Waiting Game
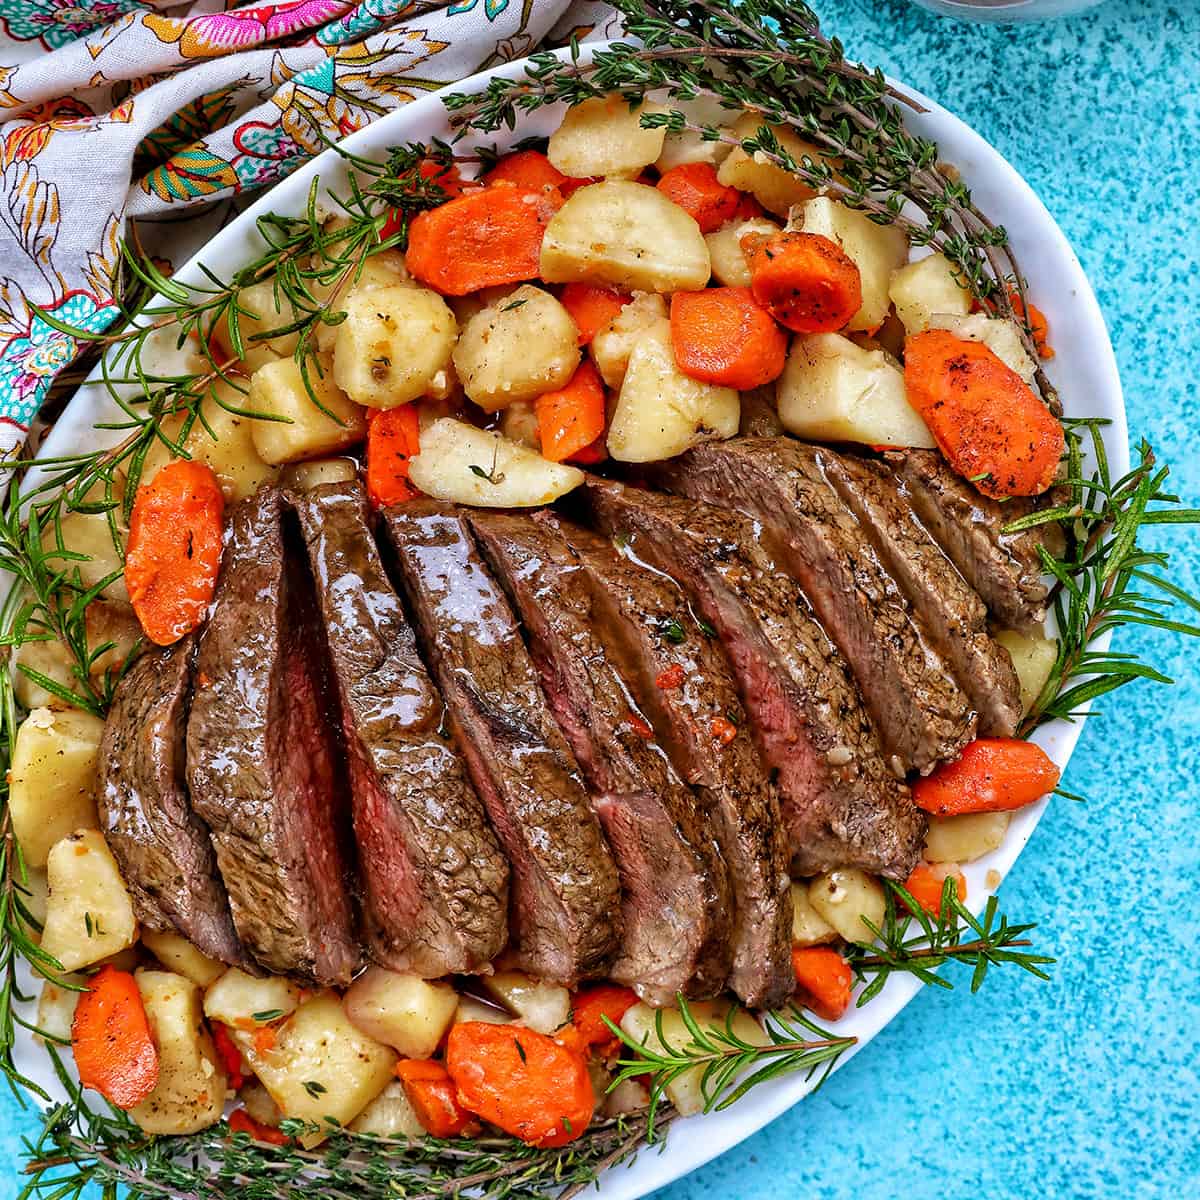
Now comes the hard part – waiting. But trust me, it’s worth it. While the roast was cooking, I went ahead and prepped some veggies to go with it. Potatoes, carrots, onions – the usual suspects. You can also just throw them in with the roast for the last part of the cooking time, they come out super tender and flavorful that way.
Release and Rest
- Once the cooking time was up, I let the pressure release naturally for a bit, usually around 15-20 minutes. This helps the meat to relax and retain its juices.
- Then, I did a quick release for any remaining pressure, carefully opened the lid, and voila! A perfectly cooked sirloin tip roast.
- I took it out of the pot, placed it on a cutting board, and tented it loosely with foil to let it rest for about 10 minutes.
- Resting is crucial, folks. It allows the juices to redistribute throughout the meat, resulting in a more tender and flavorful roast.
Slice and Serve
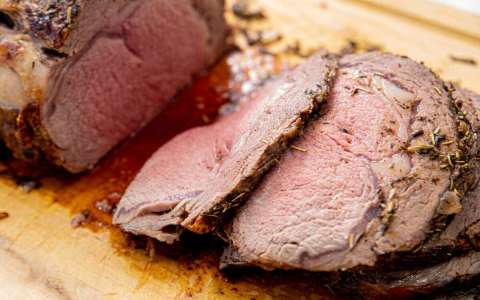
Finally, the moment of truth! I sliced the roast against the grain, and it was like butter. Seriously, so tender and juicy. I served it up with those roasted veggies, and it was a hit. The Instant Pot really did its magic, and I had a delicious, satisfying meal without spending hours in the kitchen. Give it a try, you won’t regret it!


Post Comment