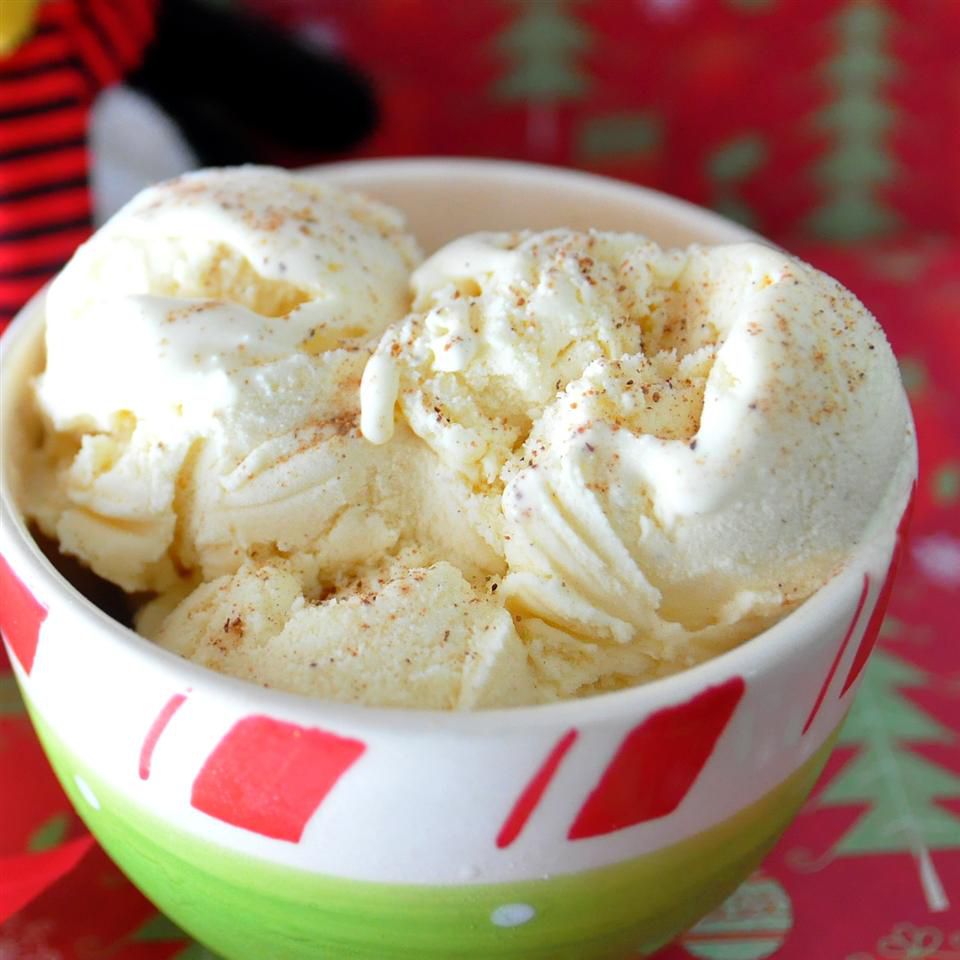
Indulging in Homemade Eggnog Ice Cream Without an Ice Cream Maker
There’s something so decadent about eggnog ice cream—it’s like capturing the essence of the holiday season in a creamy, delightful dessert. But what if you don’t have an ice cream maker? Fear not! We’re about to explore how you can craft this indulgent treat with just a few kitchen essentials. Whether you’re gearing up for a festive gathering or simply craving a spoonful of holiday cheer, this easy and foolproof recipe is your guide to delicious, homemade eggnog ice cream.
Ever wondered if you could enjoy luscious, creamy ice cream without any specialized equipment? The answer is a resounding yes. Creating eggnog ice cream without an ice cream maker is not only possible, but it’s also simple and rewarding. By utilizing the wonderful properties of some basic ingredients and a few steps of preparation, you can prepare a treat that will impress any dessert lover.

Ingredients and Basics
To get started, gather the following ingredients: two cups of heavy cream, one cup of eggnog, half a cup of sugar, a teaspoon of vanilla extract, and a touch of nutmeg for that distinctive eggnog flavor. The combination of these elements will create the rich base required for our holiday-inspired dessert.
Step-by-Step Process
Begin by whipping the heavy cream in a large bowl until it forms soft peaks. This is a crucial step as the air incorporated into the cream will give your ice cream that cherished smooth and light texture. In a separate bowl, mix your eggnog, sugar, vanilla extract, and nutmeg. Stir until the sugar completely dissolves and the mixture takes on a uniform texture.
Now, gently fold the whipped cream into the eggnog mixture. Be cautious not to deflate the airy structure of the cream. Folding rather than stirring ensures that your resulting ice cream maintains its velvety consistency.
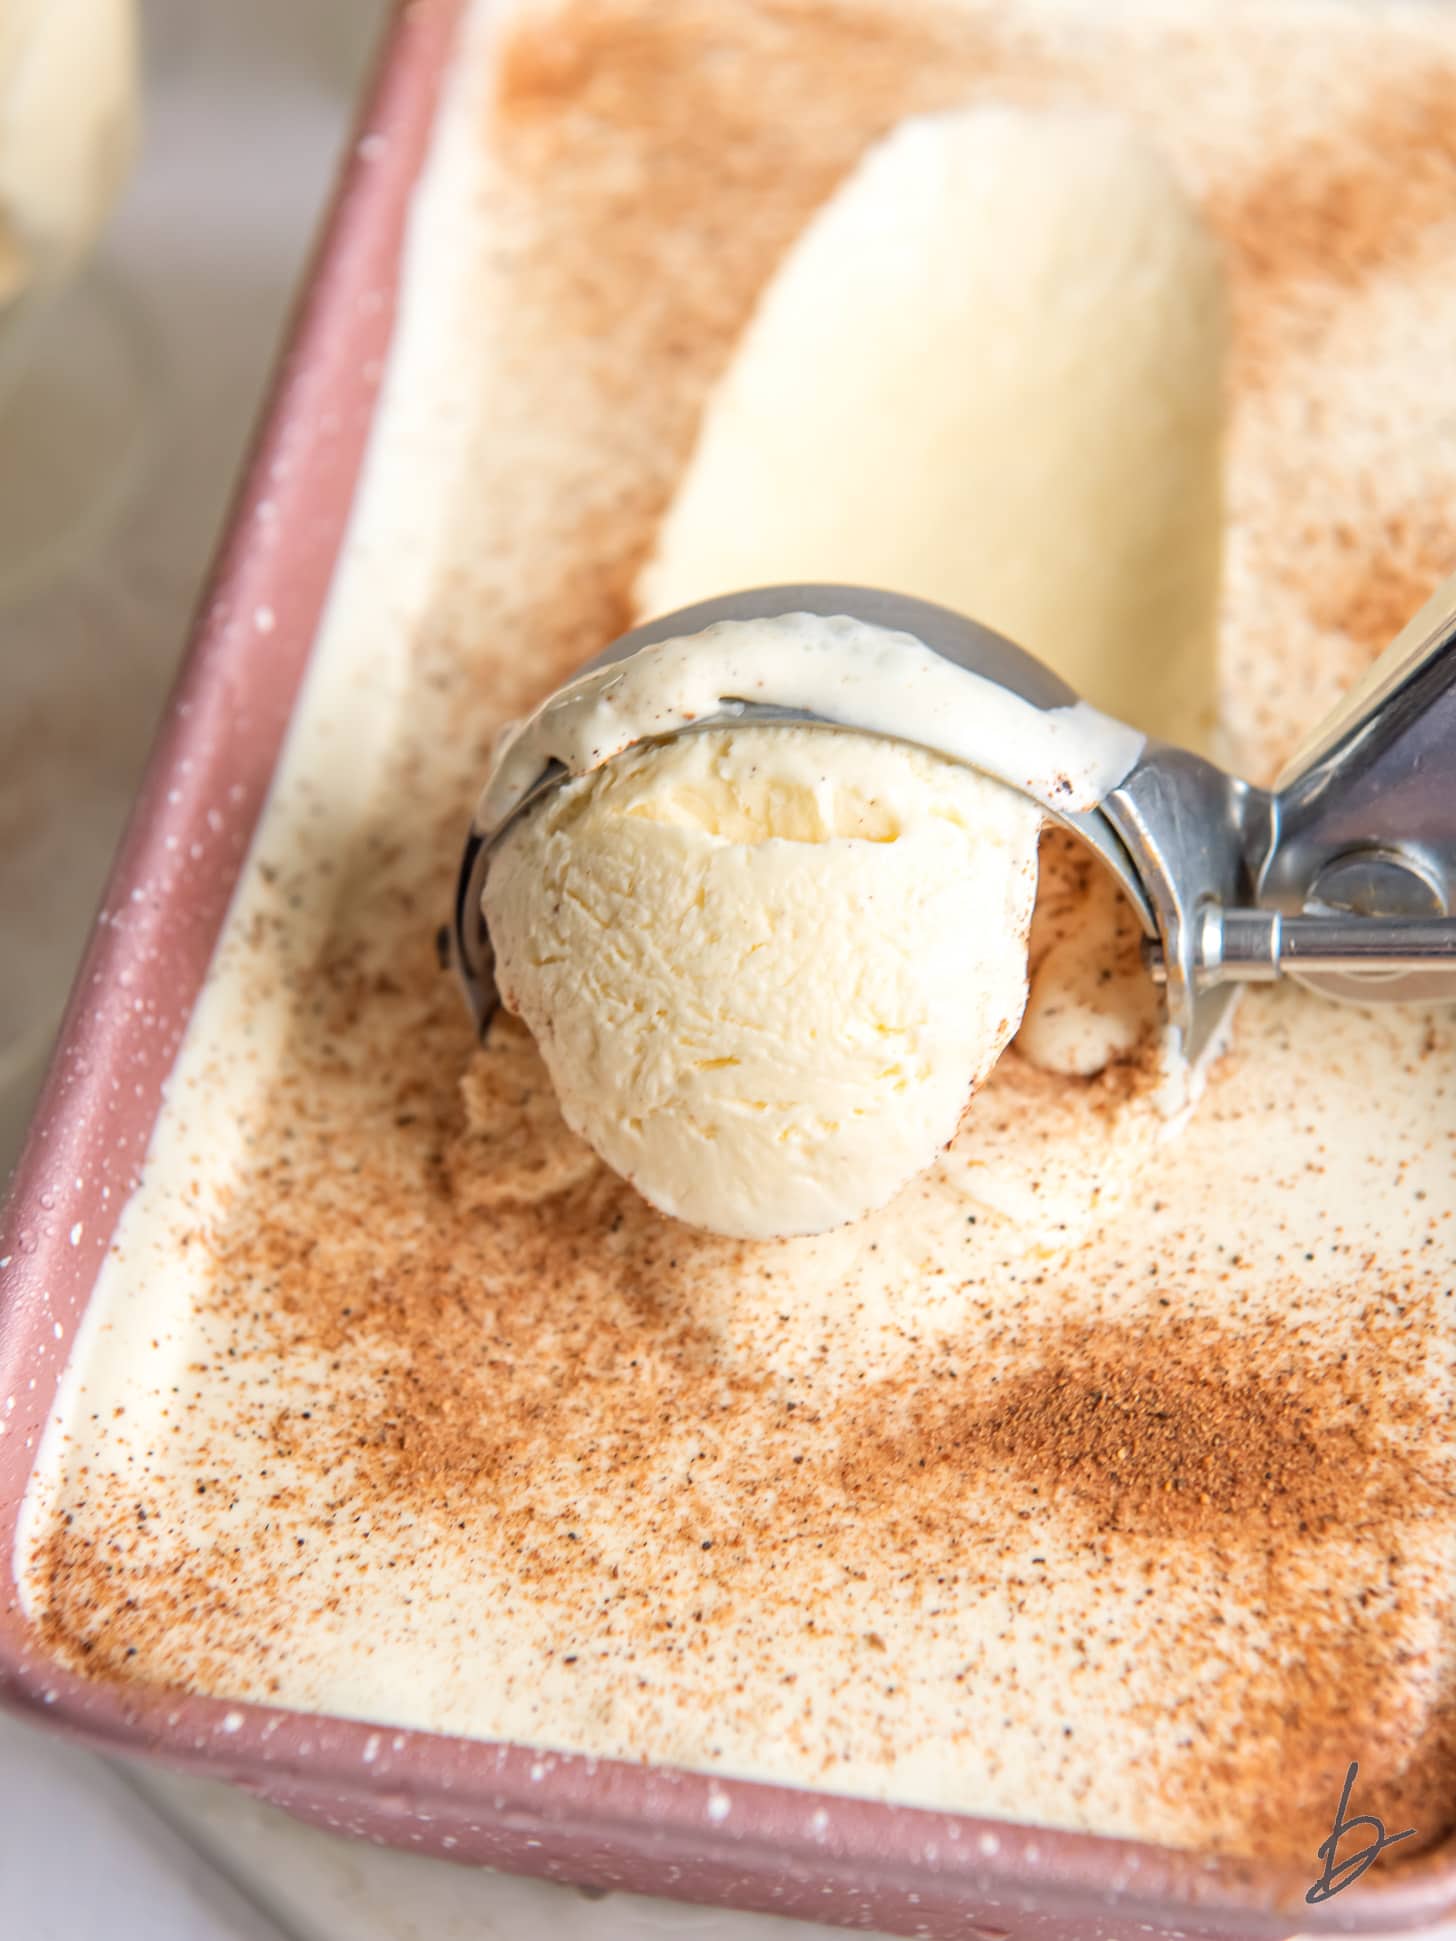
Once combined, transfer the mixture to a loaf pan or any freezer-safe container. Cover it with plastic wrap or a lid to prevent any ice crystals from forming on top. Freeze the mixture for a minimum of 3 to 4 hours, or until it reaches the consistency of ice cream.
Enhancing Your Eggnog Ice Cream Experience
Customization is key to personalizing your ice cream. Consider adding chocolate chips, crushed peppermint candies, or a swirl of caramel sauce just before freezing. Each of these variations can bring a unique twist to your eggnog delight.

Additionally, serving suggestions can elevate the experience. Pair your eggnog ice cream with warm apple pie or gingerbread cookies for a nostalgic holiday combination. Alternatively, create a sundae with whipped cream and a sprinkle of cinnamon to highlight the classic flavors.
Savoring the Homemade Goodness
There’s a special satisfaction in creating something from scratch, especially when it’s as irresistible as homemade ice cream. You’ll discover that without an ice cream maker, the absence of churning is hardly noticeable compared to the full flavors present in each scoop. The minimal effort and basic ingredients needed to create this indulgent dessert show how achievable gourmet results can be right within your kitchen.
With these fundamentals, you’re well on your way to impressing friends and family with a dessert that’s both nostalgic and innovative. Delight in the creamy texture and the rich, spiced notes of eggnog ice cream and keep the spirit of the holidays alive with every spoonful. It’s an experience you won’t forget, and a recipe you’ll turn to time and time again when in need of a festive treat.


