
The Perfect Cherry Pie from Canned Filling: A Delicious Shortcut
Craving a slice of cherry pie, but short on time? You’re in luck! With canned cherry filling, you can whip up a delicious pie with minimal effort. This guide walks you through every step to create a pie that tastes as if it’s been made from scratch. Whether you’re preparing for a family gathering or simply treating yourself, this cherry pie will satisfy your sweet tooth.
A Delightful Start with Canned Cherry Pie Filling
Canned cherry filling might sound like a cheat, but it offers the sweet, tart flavors of fresh cherries without the hassle of pitting and cooking. The filling is already sweetened and thickened, saving you precious preparation time. Moreover, using canned filling ensures that the pie is juicy and evenly flavored every time.
Gathering Ingredients for the Perfect Pie
Your journey to creating a cherry pie begins with gathering the right ingredients. For this recipe, you will need:
- A can of cherry pie filling
- Two pre-made pie crusts (or make your own if you prefer)
- A tablespoon of lemon juice
- A teaspoon of vanilla extract
- A pinch of cinnamon (optional, for a warm flavor)
- One egg (for the egg wash)
Elevating the Canned Filling
While the canned filling is perfectly delicious on its own, adding a few ingredients can elevate its flavor. Mix in a tablespoon of lemon juice to brighten the cherries, a teaspoon of vanilla extract for a deeper flavor, and a pinch of cinnamon for warmth that enhances the fruit’s natural taste.
Crafting the Perfect Crust
While the filling might be the star of the show, the crust plays a crucial supporting role. If you’re using pre-made crusts, roll out one for the base and gently fit it into your pie dish. For a homemade touch, crimp the edges or use a fork to create a decorative pattern.
Assembling Your Cherry Pie
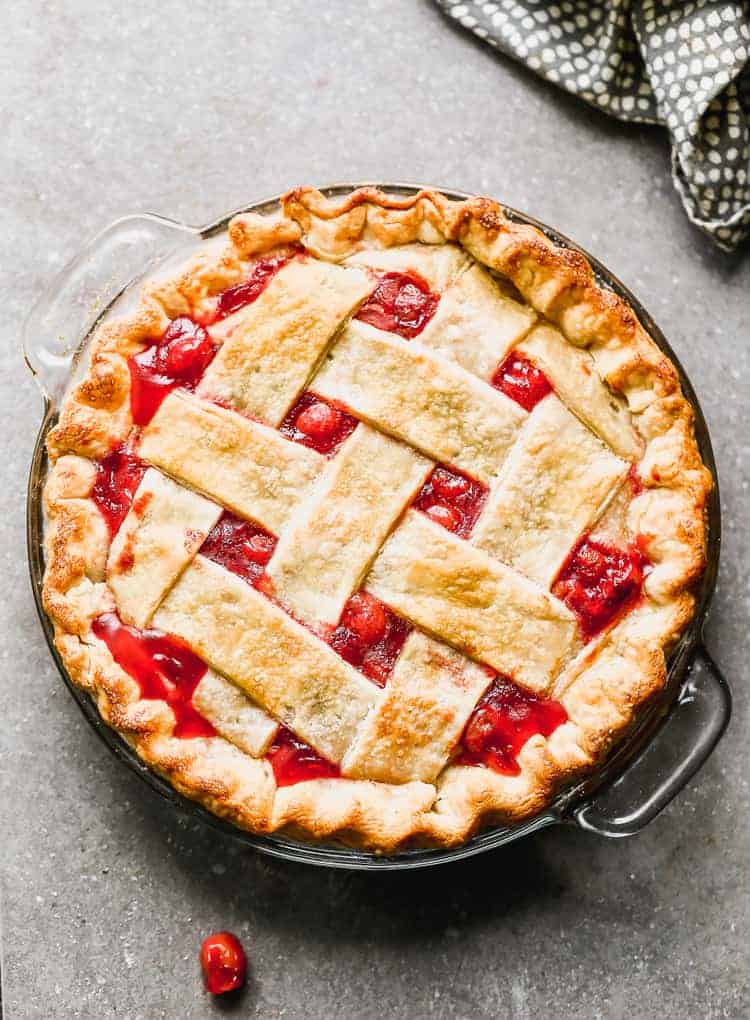
Once your crust is ready, pour the enhanced cherry filling into the pie shell. Remember to spread it evenly to ensure every bite has the perfect balance of crust and filling. Use the second pie crust for the top. You can opt for a simple full cover with slits for steam release or get creative with a lattice design.
A Golden Finish
Before baking, craft an egg wash by whisking the egg with a tablespoon of water. Brush this mixture over the top crust to achieve a golden, glossy finish. This step not only enhances appearance but also adds a subtle crispness to the crust.
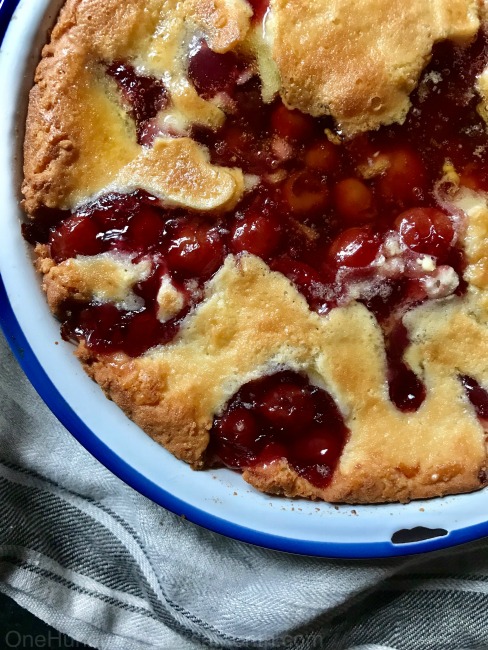
Baking Time
Preheat your oven to 375°F (190°C) and bake the pie for 40 to 45 minutes. The aroma of baking pie will soon fill your kitchen, signaling that the crust is turning a beautiful golden brown. To prevent the edges from burning, cover them with foil once they reach the desired color.
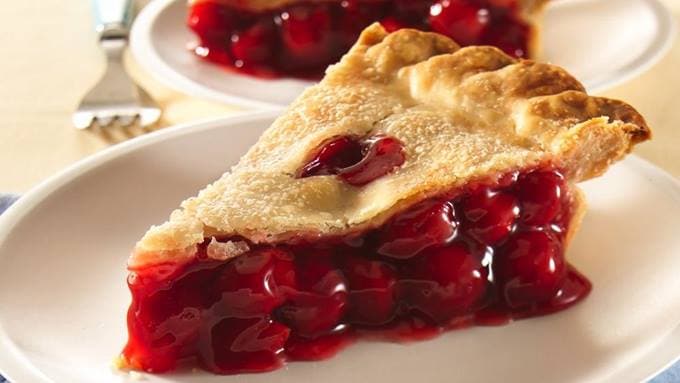
Serving and Enjoying
Allow the pie to cool for at least 30 minutes before slicing. This waiting period ensures the filling sets properly, giving you the perfect slice every time. Serve warm with a scoop of vanilla ice cream for an indulgent treat, or enjoy it plain to savor the pie’s natural flavors.
A Sweet Conclusion
Cherry pie made from canned filling is a straightforward, satisfying way to enjoy a classic dessert. With a few simple tweaks and a golden crust, this pie will impress anyone lucky enough to share it with you. Revel in the delight of homemade taste without the usual fuss, and let your pie be the centerpiece of countless cherished moments.


