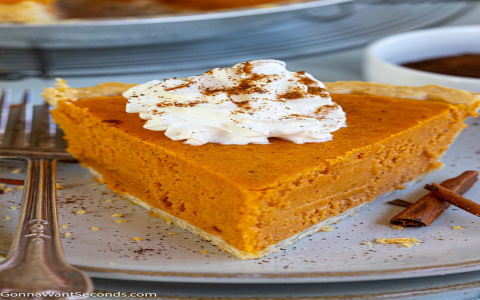
Okay, so the other day I was craving a pie, but I didn’t want to fuss with making a filling from scratch. Canned filling to the rescue! But then I hit a snag: how long do I actually bake the thing? I didn’t want a soggy bottom or a burnt top. Here’s what I did, and it worked out pretty well!
Prepping the Pie
First, I grabbed my canned pie filling (I went with cherry, because yum!). And also get a pre-made pie crust. Making crusts from scratch is fine, but I was going for quick and easy here.
I preheated my oven to 350°F (175°C). No need to go crazy high with the heat.

Then I gently fit the bottom crust into my pie dish. Make sure its fully fit with the dish. No need to poke holes or anything, just get it in there nice and snug.
Filling ‘Er Up
Next, I poured the canned filling into the crust. I made sure to spread it evenly, that is important.
The Baking Process
- Into the oven it went! I set my timer for 45 minutes as a starting point. I figured it’s better to check it early than to overbake it.
- After 45 minutes, I took a peek. The edges of the crust were starting to brown, but the filling still looked a little loose.
- So, I popped it back in for another 10 minutes.
- Checked it again. Crust was golden, filling was bubbly and looked set, but not watery. Perfect!
Cooling and Serving
I took the pie out of the oven and let it cool completely on a wire rack. This is important, so the filling can set up properly and you don’t burn your mouth.
That is all, and it’s good to eat. Slice, serve, and enjoy! I added a scoop of vanilla ice cream, because why not?
So, there you have it. Baking a pie with canned filling is super easy, and for me, a total bake time of 55 minutes at 350°F did the trick. Just keep an eye on it, and you’ll be golden (brown, that is!).


Post Comment