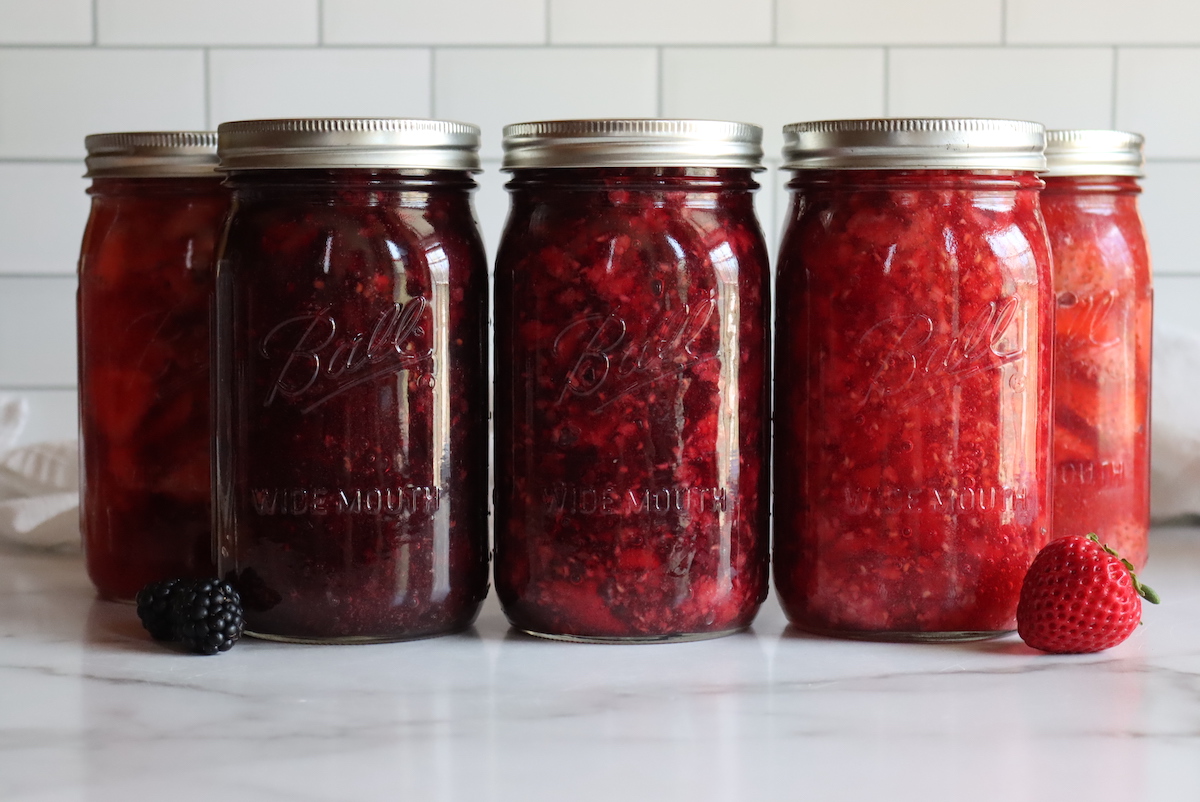
Blackberry Pie Filling to Can: A Delicious Homemade Delight
Imagine the satisfaction of opening your pantry and seeing jars of homemade blackberry pie filling, ready to be transformed into a delicious dessert anytime. Canning your own pie filling is not only rewarding, but it also ensures you have control over the ingredients, making it a healthier choice. This guide will walk you through a simple yet effective recipe for blackberry pie filling, perfect for canning.
The Joy of Canning Blackberry Pie Filling

Blackberries are a beloved fruit, known for their rich flavor and numerous health benefits. By canning them as a pie filling, you preserve their freshness and enjoy them long after their peak season. Homemade blackberry pie filling is versatile, perfect for pies, tarts, cobblers, or even as a topping for ice cream and pancakes.
Gather Your Ingredients and Supplies
To start, you’ll need fresh blackberries, sugar, lemon juice, and clear jel – a canning thickener that withstands the heat of processing. Clear jel is crucial for creating a smooth, consistent texture without breaking down during the canning process. Ensure you have sterilized jars, lids, and a water bath canner ready.
The Recipe: Step-by-Step Guide
-
Prepare the Blackberries: Start by rinsing about 6 cups of fresh blackberries under cool, running water. Carefully inspect them to remove any stems or spoiled fruit.
-
Cook the Berries: In a large saucepan, combine the blackberries, 1 ¼ cups of sugar, and 2 tablespoons of lemon juice. Stir gently to avoid crushing the berries, and bring the mixture to a gentle boil over medium heat.
-
Add Clear Jel: While the berries are cooking, mix ¼ cup of clear jel with a small amount of cold water to create a smooth paste. Slowly stir this into the berry mixture, ensuring it’s well incorporated to prevent lumps.
-
Thicken the Filling: Continue boiling the mixture until it thickens. You should notice it becoming glossy and adhering to the spoon. This usually takes about 5-7 minutes.

-
Can the Filling: Carefully ladle the hot pie filling into your prepared jars, leaving about ½ inch of headspace. Wipe the rims clean to ensure a good seal, then place the lids on the jars.
-
Process the Jars: Place the filled jars into a water bath canner and process them for about 30 minutes. This step is vital for safety and shelf stability. Once done, remove the jars and let them cool undisturbed.
Tips for Success
-
Use the freshest blackberries available. Frozen berries can work, but fresh ones offer a better texture and flavor.
-
If you prefer a sweeter filling, increase the sugar slightly. Remember that berries vary in sweetness.
-
Ensure your jars are properly sterilized to prevent contamination and spoilage.
Storage and Usage Ideas
Once the jars have cooled, check the seals before storing them in a cool, dark place. Your canned blackberry pie filling should last up to a year. When you’re ready to use it, consider crafting a classic lattice-topped pie or experimenting with individual hand pies for a modern twist.

Incorporating homemade blackberry pie filling into your desserts not only elevates their taste but also adds a personal touch that store-bought fillings can’t match. So, grab those fresh blackberries and get ready to fill your pantry with the essence of homemade goodness. Whether it’s for a family gathering or a cozy night in, your efforts in canning will surely bring delight.


