
Alright, let’s talk about baking chicken legs. I tried this out the other day, and it turned out pretty good, so I figured I’d share my experience with you guys.
First off, I preheated my oven. Now, I’ve seen people do it at 350F, some at 400F, and some even higher. After looking around, I decided to go with 400F. Seemed like a good middle ground, you know? Plus, I heard that a higher temperature helps make the skin crispy. Who doesn’t like crispy chicken skin?
Getting the Chicken Ready
- I took the chicken legs out of the fridge.
- I gave them a good rinse under cold water.
- Then, I patted them dry with some paper towels. You want them dry so they can brown nicely.
Next up, I seasoned those bad boys. I just used some salt, pepper, and a bit of garlic powder. Nothing too fancy, but you can use whatever spices you like. Some paprika, maybe some herbs? Go wild. I placed the seasoned chicken legs on a baking sheet. You might want to line it with foil or parchment paper for easier cleanup later.
Into the Oven
Once the oven was heated, I popped the chicken legs in. Now, here’s where it gets a bit tricky. How long do you bake them for? I’ve seen recipes saying anywhere from 30 minutes to almost an hour.
I decided to go for about 40 minutes. After 40 minutes, I checked the internal temperature with a meat thermometer. You want it to be at least 165F for safe, but I like to take the legs a little higher, around 170-175F. That way, they’re nice and tender.
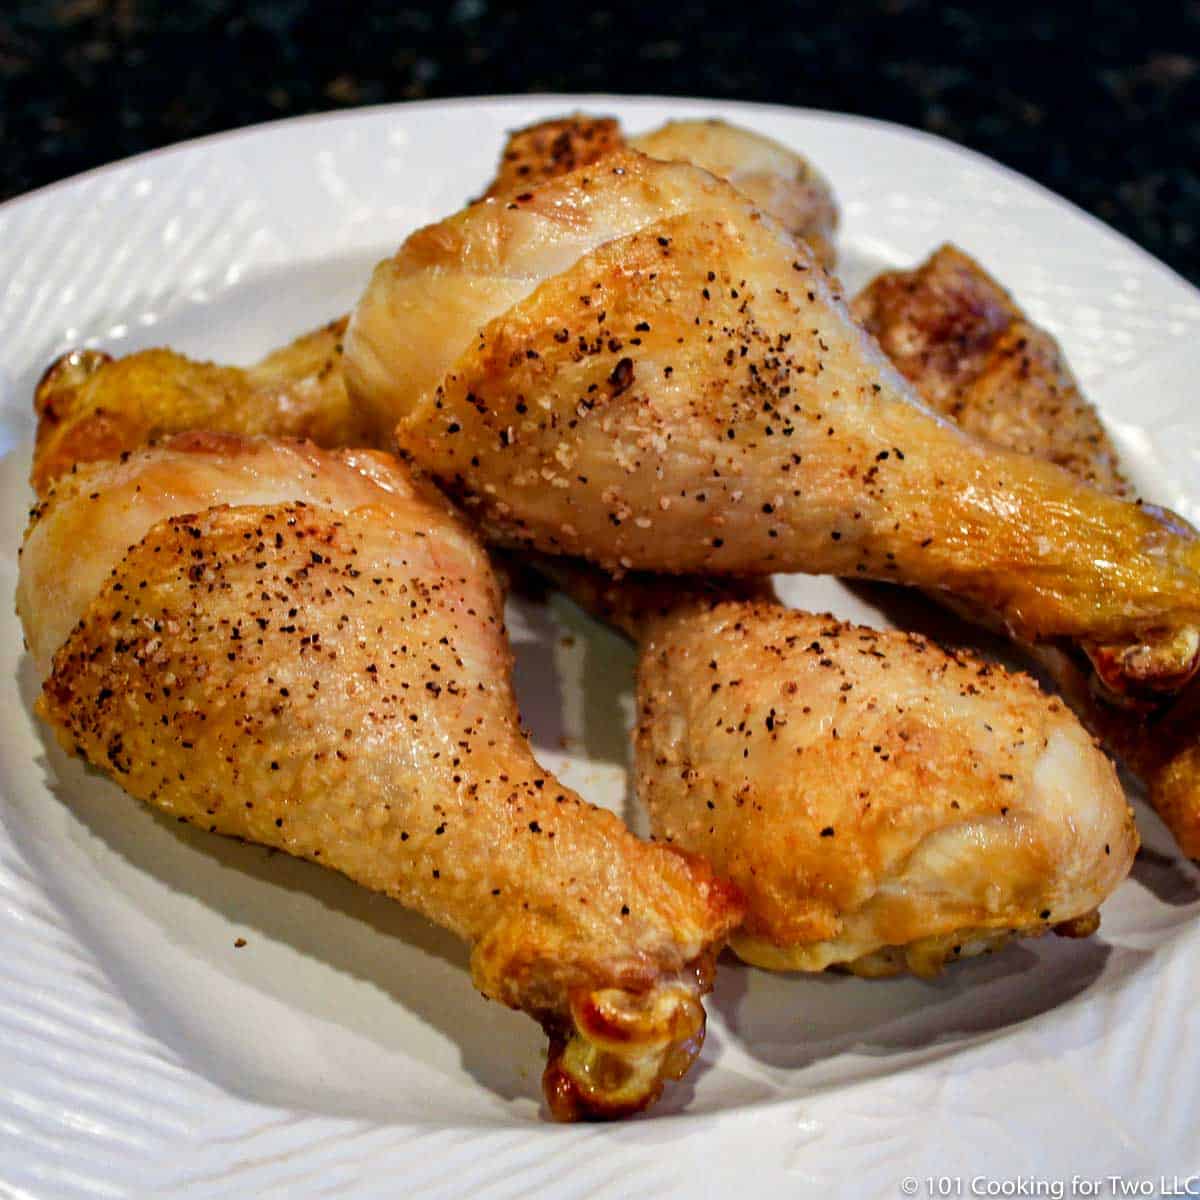
The Result
They came out pretty darn good! The skin was nice and crispy, and the meat was juicy and fully cooked. Baking at 400F seemed to do the trick. It’s a bit hotter than some recipes suggest, but I liked that it cooked the chicken faster and gave it that nice golden-brown color without drying it out.
So, there you have it. That’s my experience baking chicken legs at 400F. It’s a simple, no-fuss way to get a tasty meal on the table. Give it a try and let me know how it goes for you!


Post Comment