Okay, so I’ve been seeing these rotisserie tri-tips all over the place, and they look AMAZING. I finally decided to give it a shot myself. Let me tell you, it wasn’t as hard as I thought it would be!
Getting Started
First, I grabbed a tri-tip roast from the store. Mine was about 2.5 pounds. I unwrapped it and patted it dry with some paper towels. Gotta get that surface nice and dry for a good sear later.
Seasoning It Up
Next up, the seasoning! I kept it pretty simple. I mixed together some salt, pepper, garlic powder, onion powder, and a little paprika in a bowl. Then, I rubbed that mixture all over the tri-tip, making sure to get every nook and cranny. Don’t be shy with the seasoning!
Onto the Rotisserie
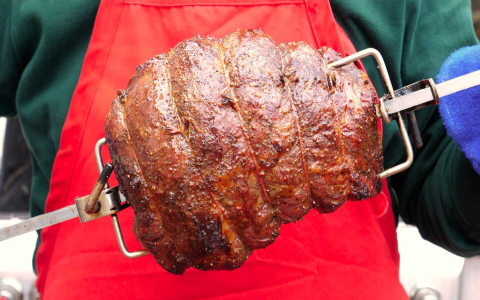
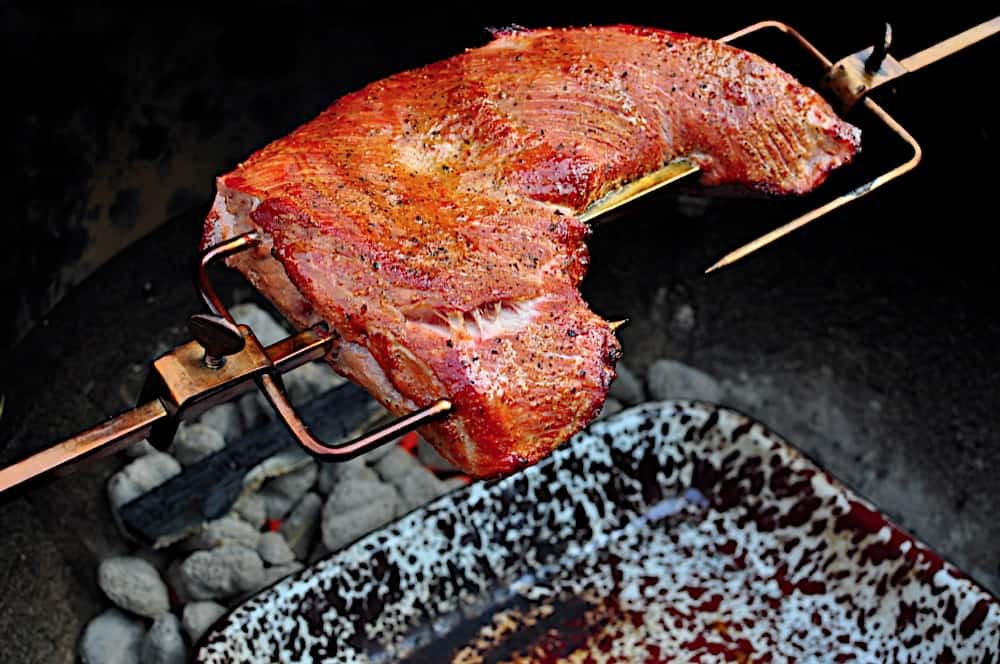
Now for the fun part! I slid the tri-tip onto the rotisserie spit, making sure it was balanced. I used the forks that came with my rotisserie to secure it in place. I also tucked the thinner end of the tri-tip under the thicker part, and secured with some kitchen twine. Just wanted to try to make it cook more even.
Cooking Time
I preheated my grill to medium-high heat. I have a gas grill with a rotisserie burner, so I turned that on. If you don’t have a rotisserie burner, you can probably still do this with indirect heat, but I haven’t tried that myself. I carefully placed the spit with the tri-tip onto the grill and started the rotisserie motor.
- I let it spin for about 30 minutes, then I checked the internal temperature with a meat thermometer.
- I was aiming for medium-rare, which is around 130-135°F.
- It took about 45 minutes total for mine to reach that temperature. Your time might vary depending on your grill and the size of your tri-tip.
Rest and Enjoy
Once it hit the right temperature, I carefully removed the tri-tip from the grill and placed on cutting board. I am letting it rest, cover with foil for about 10-15 minutes. This is important! It lets the juices redistribute, so you don’t lose all that goodness when you slice it. I sliced, against the grain. That’s another key thing – always slice tri-tip against the grain for maximum tenderness.
And That’s it!
Seriously, it turned out so good. Juicy, flavorful, and with a nice crust on the outside. I served it with some roasted potatoes and a salad. Perfect meal! I’ll definitely be making this again.


Post Comment