Okay, so I’ve been seeing lilikoi (passion fruit) everywhere lately, and my neighbor’s vine was practically overflowing. They were super nice and gave me a whole bunch, so, naturally, I thought: JAM! I’ve never made lilikoi jam before, so this was a whole new adventure for me.
Getting Started
First, I gathered my supplies. I mean, who doesn’t love a good excuse to use cute mason jars? Here’s what I grabbed:
- A whole mess of lilikoi (about 20, I think?)
- Sugar (regular granulated sugar, nothing fancy)
- One lemon
- Those cute little mason jars, sterilized, of course!
- A big pot
- A wooden spoon (gotta have a dedicated jam spoon!)
The Messy Part (aka Scooping)
This is where things got real. I sliced those lilikoi in half and, oh boy, it was juicy! I used a spoon to scoop out all the pulp and seeds into a bowl. It was a little tedious, ngl, but the smell was amazing – so tropical and tangy!
Cooking Time!
I dumped all that lilikoi pulp into my big pot. Then, I measured out the sugar. I didn’t follow a super strict recipe, more of a “taste and see” approach. I think I ended up using about equal parts pulp and sugar, maybe a bit less sugar. Then, I squeezed in the juice of that lemon – I heard it helps with setting the jam.
I put the pot on the stove over medium heat and started stirring. And stirring. And stirring. Seriously, jam making is a workout! It slowly started to bubble and thicken. The color changed from a bright yellow to a deeper, richer gold.
The “Is it Ready?” Test
This part was tricky. I’d never done this before! I remembered seeing something about the “wrinkle test,” so I put a small plate in the freezer earlier. I dropped a tiny bit of the hot jam onto the cold plate, waited a few seconds, and then pushed it with my finger. It wrinkled! It actually wrinkled! I felt like a jam-making pro.
Jarring it Up
Carefully, very carefully, I ladled the hot jam into my sterilized jars, leaving a little space at the top. I wiped the rims clean (sticky mess alert!), and screwed on the lids. Then, I processed the jars in a boiling water bath for about 10 minutes, just to be safe.
The Final Result (and Taste Test!)
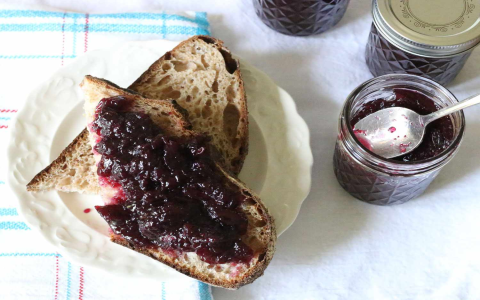
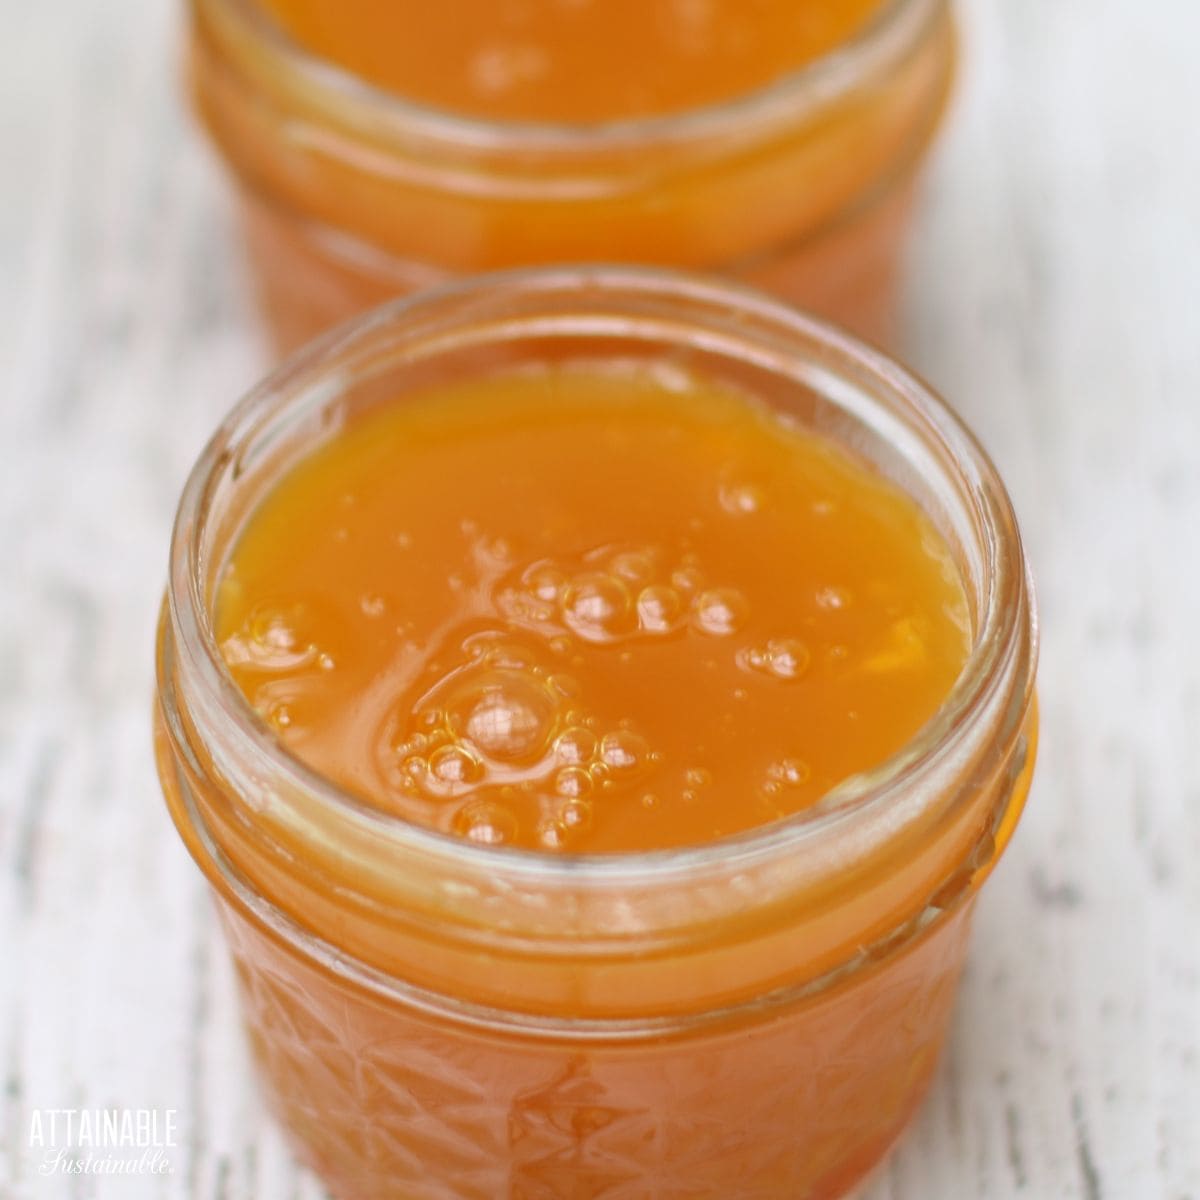
After they cooled, I heard that satisfying “pop” sound – success! The jam looked gorgeous, a beautiful golden color with little flecks of seeds. And the taste? Oh. My. Goodness. It was sweet, tart, and intensely lilikoi-flavored. I immediately spread some on a piece of toast and devoured it. Totally worth the effort!
I give my first try 5 star rating,and I think next time,I can make it better!


Post Comment