Okay, so I’ve been seeing these Starbucks chocolate cake pops everywhere, and I finally decided to give them a shot myself. I mean, who doesn’t love a good cake pop? Here’s how it went down in my kitchen:
Getting Started
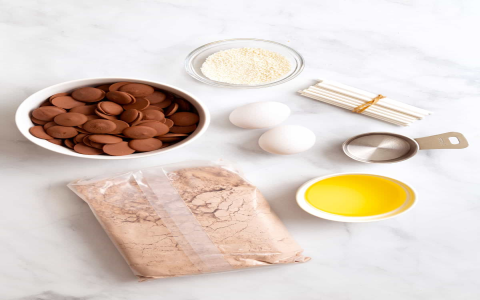
First, I needed a game plan. I grabbed a basic chocolate cake recipe – nothing fancy, just a regular box mix because, let’s be real, I’m all about keeping it simple. And of course, I made sure I had all the other stuff:
- Chocolate cake mix (and whatever the box tells you to add – eggs, oil, water)
- A can of chocolate frosting (store-bought, because #easy)
- Candy melts (I went with dark chocolate, but you do you)
- Lollipop sticks
- Sprinkles (because, duh)
Bake That Cake
I followed the instructions on the cake mix box. Pretty straightforward – mixed everything up, poured it into a baking pan, and popped it in the oven. While it was baking, I cleaned up a bit, and probably scrolled through Instagram for a while, not gonna lie.
Crumble Time
Once the cake was done and cooled (this is important – don’t try to work with a hot cake, it’ll be a mess!), I took out and start to crumbled it up. I just used my hands and went to town on it. It’s kinda therapeutic, actually. You want it to be pretty fine, no big chunks.
Frosting Fun
Next, I scooped in a good amount of that chocolate frosting. I didn’t use the whole can, just enough to get the cake crumbs to stick together. You want it to be moist, but not like, super gooey. I mixed it all up with my hands again – it’s just easier that way.
Rollin’, Rollin’, Rollin’
Now for the fun part! I grabbed some of the cake mixture and started rolling it into little balls. I aimed for about a ping pong ball size, but they definitely weren’t all perfectly uniform. That’s okay, homemade is all about that rustic charm, right?
Stick It
I melted some of the candy melts according to the package directions. Then, I dipped the end of a lollipop stick into the melted chocolate and stuck it into a cake ball. The melted chocolate acts like glue, so the cake pop doesn’t fall off later.
Chill Out
After I got all the sticks in, I put the cake pops in the fridge for a bit. This helps the candy melts set and keeps everything together. I think I left them in there for like, 20-30 minutes? Long enough to watch an episode of something on Netflix.
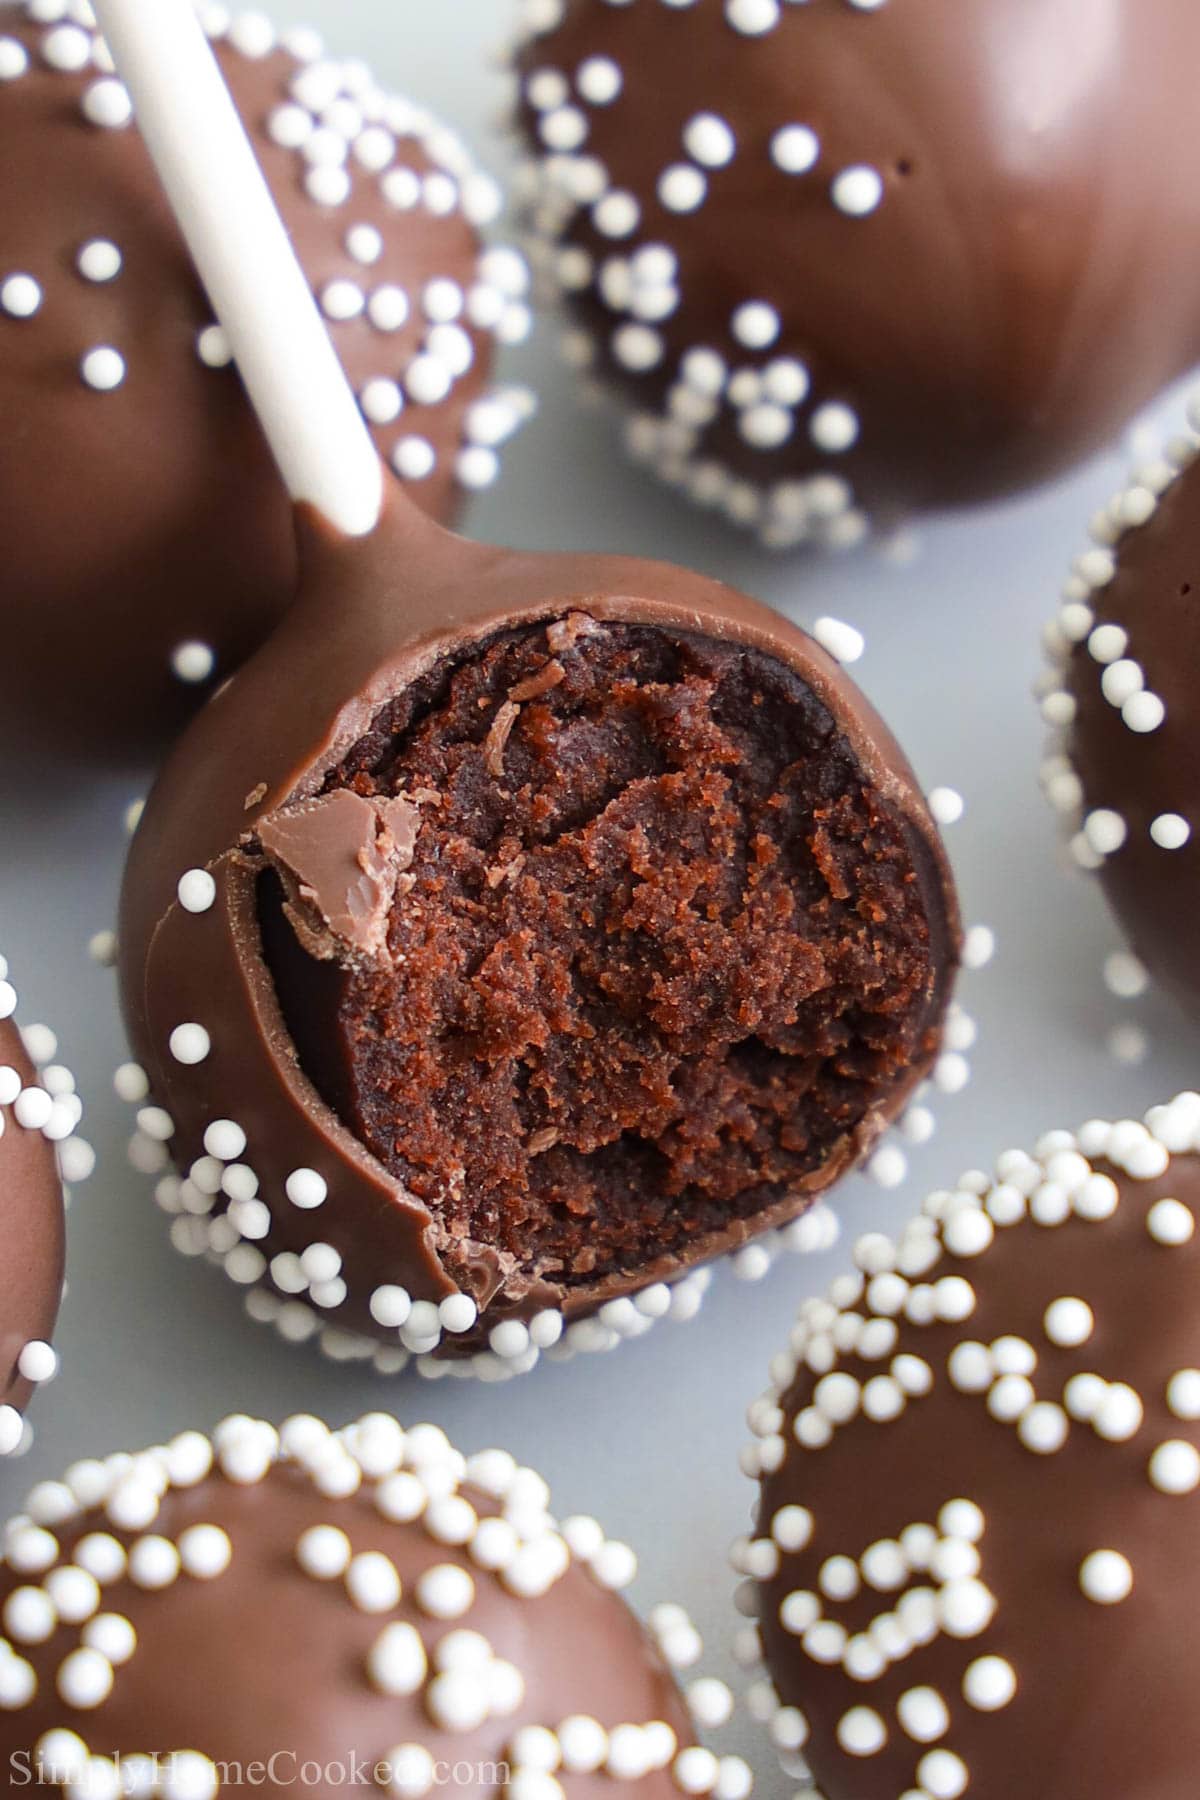
Dip & Decorate
Once the cake pops were chilled, I melted the rest of the candy melts. I took each cake pop and dipped it into the melted chocolate, making sure it was completely covered. Then, before the chocolate set, I added some sprinkles. Because sprinkles make everything better.
The Final Product
I stuck the finished cake pops into a styrofoam block (you could use a cake pop stand if you have one) to let the chocolate harden completely. And that’s it! They weren’t perfect Starbucks replicas, but they were pretty darn tasty. And honestly, it was a lot of fun to make them. I’d definitely do it again, maybe try different flavors next time!


Post Comment