
Okay, here’s my take on the “chocolate chip protein banana bread” experience, written in a casual, personal blog style:
So, I’ve been trying to up my protein intake lately, but I also have a major sweet tooth. It’s a struggle, people! I was scrolling through some recipes and stumbled upon this idea of protein banana bread. Sounded kinda weird, kinda awesome. I decided to give it a shot and document the whole messy process.
Getting Started (The Chaos Begins)
First, I grabbed all the ingredients. Or at least, I thought I had all the ingredients. Turns out, I was a little low on baking soda. Note to self: always double-check before you start!
I mashed up some super ripe bananas – the browner, the better, seriously. They were practically begging to be used. Then, I mixed in the wet ingredients: some eggs, a splash of vanilla extract (because, why not?), and a little bit of honey. I am not big fan of using refined suger.
The Protein Power-Up
Here’s where it gets interesting. I added a scoop of my usual vanilla protein powder. I use a whey protein, but I’m sure you could use whatever you like. I also tossed in a handful of chocolate chips. Because, let’s be honest, chocolate makes everything better.
Dry Ingredients and the Near-Disaster
In a separate bowl, I combined the dry stuff: flour, the (slightly less than required) baking soda, and a pinch of salt. Then, I slowly added the dry ingredients to the wet banana mixture, being careful not to overmix. Overmixing is the enemy of fluffy bread!
I almost forget to pre-heat the oven. I set to pre-heat at 350.
Into the Oven and the Waiting Game
I poured the batter into a greased loaf pan. It looked pretty good, if I do say so myself. Then, I popped it into the preheated oven and set a timer. The waiting is always the hardest part! My kitchen started to smell amazing, though, which was a good sign.
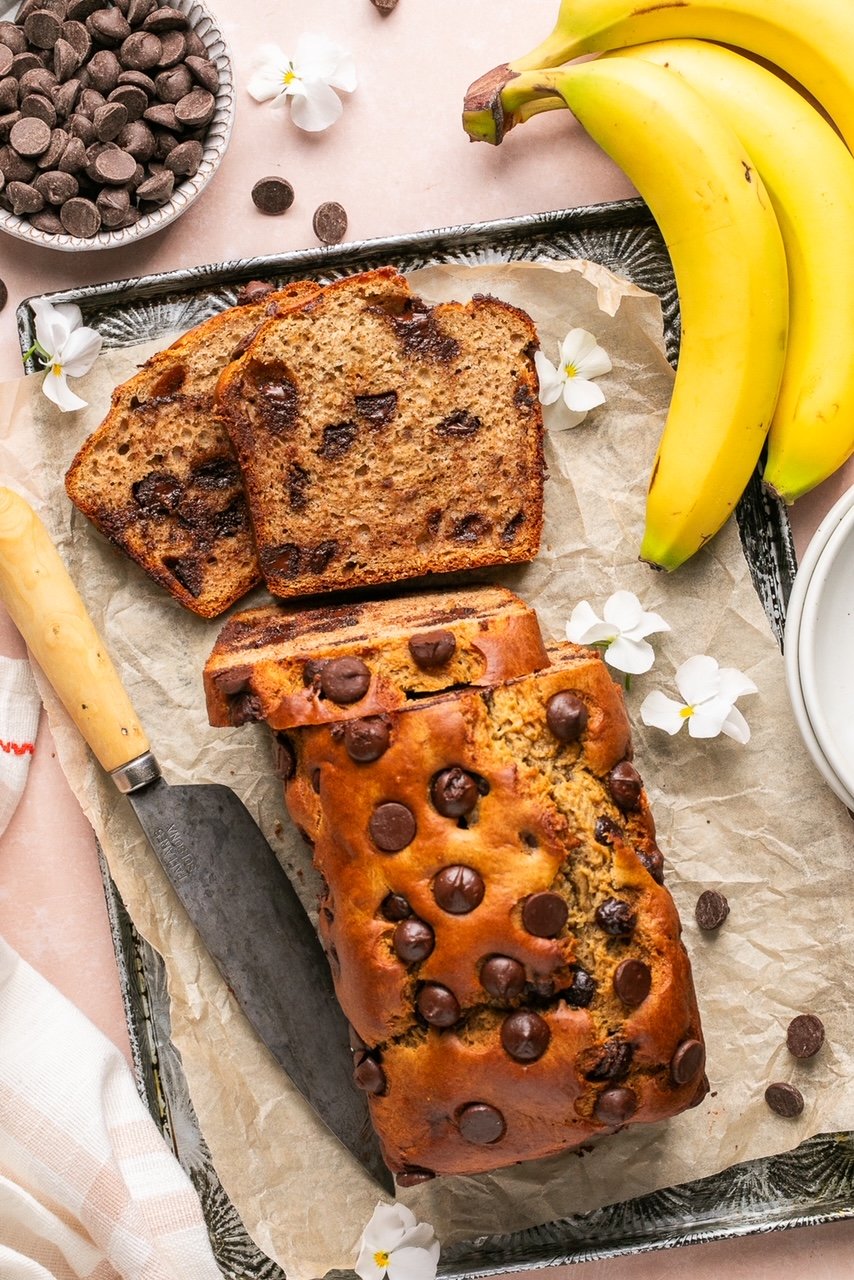
The Finished Product (Success!)
After about 50 minutes, I checked the bread with a toothpick. It came out clean, which means it was done! I let it cool for a bit before slicing into it.
And I took the first bite…And, It tastes pretty dang good. It’s moist, flavorful, and has that perfect banana bread texture. Plus, the chocolate chips are melty and delicious. And I’m getting a little extra protein in, which is a win-win. I will definately make this again.


Post Comment