Okay, so yesterday I decided to tackle canning some peach pie filling. I’ve got a ton of peaches from the farmer’s market, and what better way to preserve that summer goodness, right? Let’s get to what I did from start to finish.
Getting Started
First things first, I gathered all my supplies. This meant getting out my big canning pot, the jars, lids, rings, my jar lifter, and all that jazz. I also made sure I had plenty of sugar, some lemon juice, and Clear Jel (that’s the thickener for canning – super important!).
Prepping the Peaches
- I washed all those peaches. Gave ’em a good scrub!
- Then came the fun part – blanching! I dipped them in boiling water for about a minute, then straight into an ice bath. This makes the skins slip right off. So satisfying!
- After they were all peeled, I sliced them up, removing the pits, of course. I aimed for slices that were maybe half an inch thick, something like that.
Making the Filling
In a big, heavy-bottomed pot, I combined the sliced peaches, sugar, lemon juice (keeps the color nice and bright!), and the Clear Jel. I used a recipe I found online that I used before(it didn’t contain a URL, don’t worry!), but honestly, it’s pretty standard. The main thing is to mix the Clear Jel with the sugar before adding it to the fruit – otherwise, you get clumps, and nobody wants that.
I stirred everything together and brought it to a boil over medium heat. You gotta keep stirring, so it doesn’t stick to the bottom and burn. Once it started bubbling, I let it cook for a few more minutes until it thickened up nicely. It looked and smelled amazing!
Canning Time!
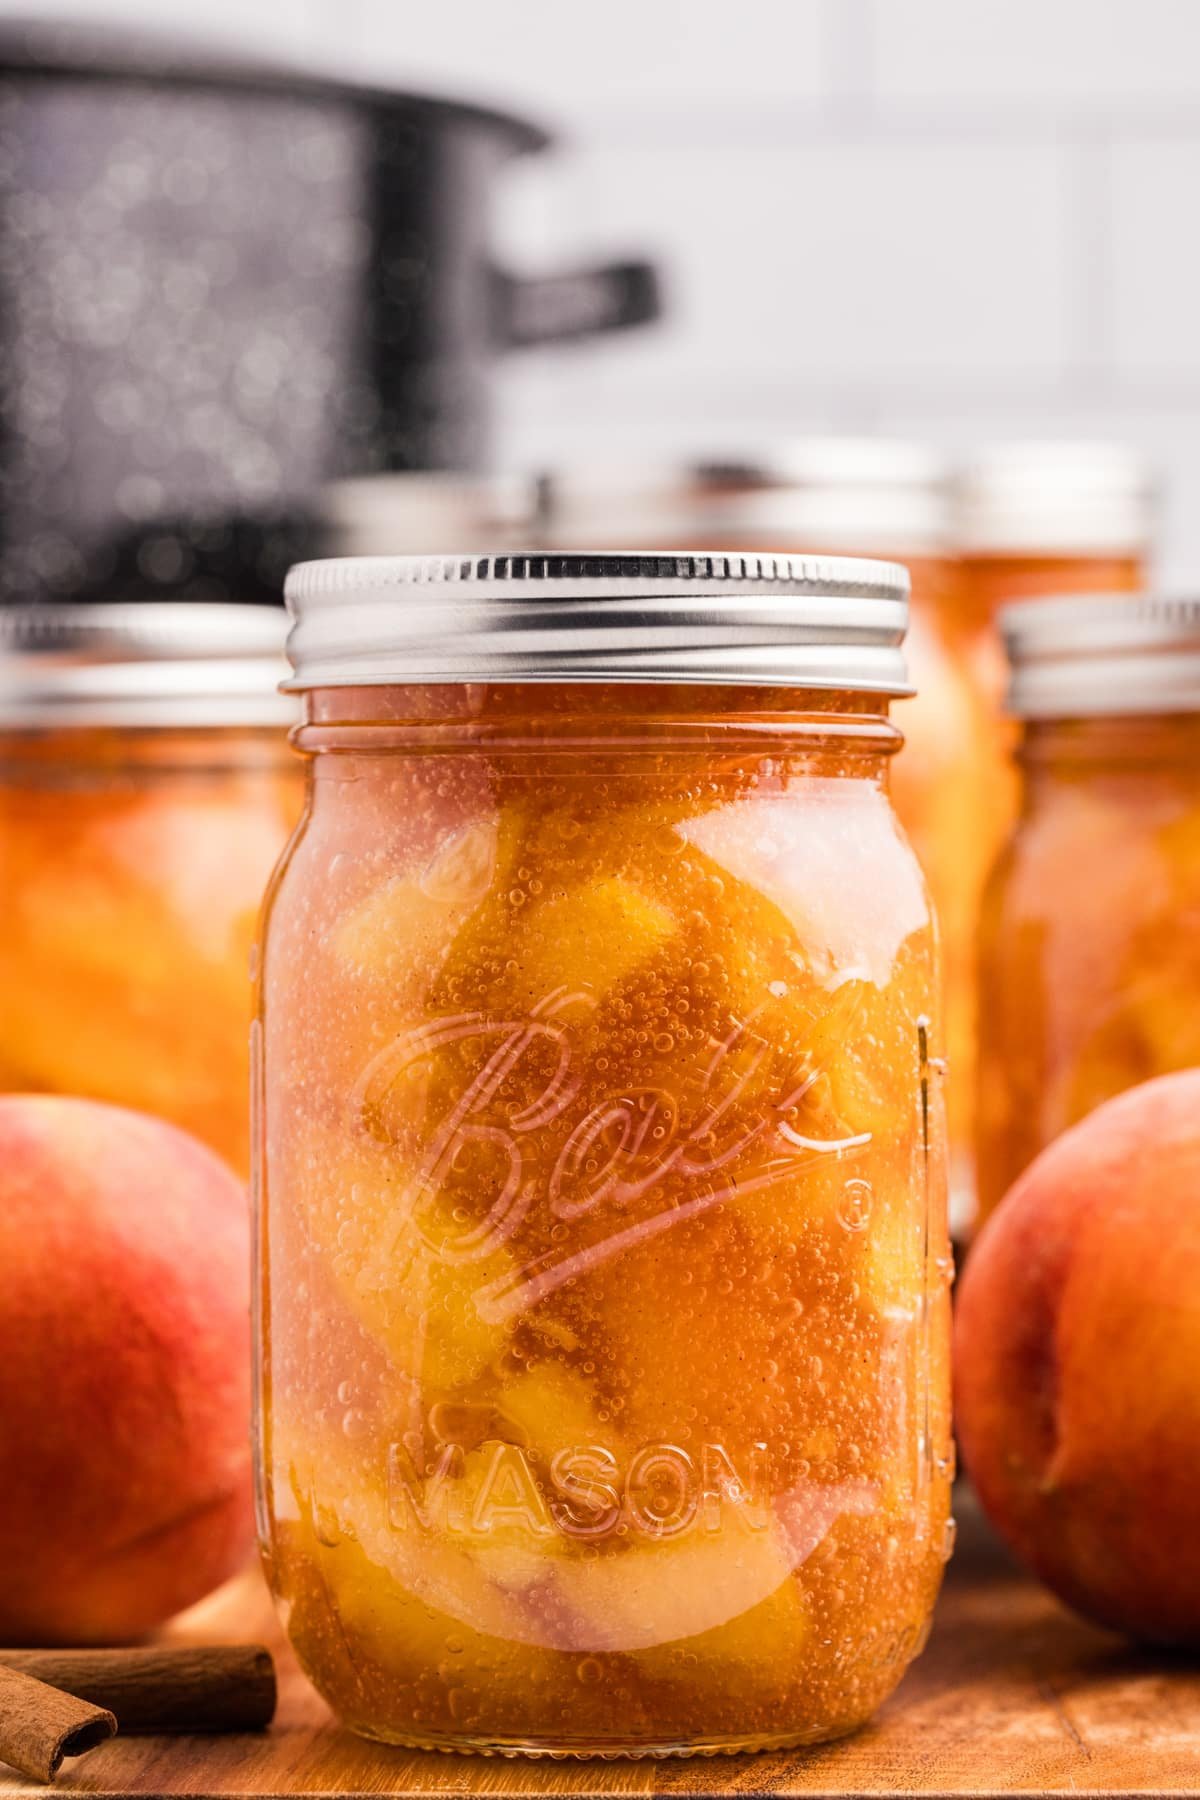
Now for the actual canning. I ladled the hot filling into my sterilized jars, leaving about an inch of headspace at the top. Then, I wiped the rims of the jars really well (gotta get a good seal!), put the lids and rings on, and tightened them fingertip-tight.
Into the boiling water bath, they went! I processed them for the amount of time the recipe specified – usually around 30 minutes for quarts. You have to make sure the water covers the jars by at least an inch.
The Final (and Best) Part
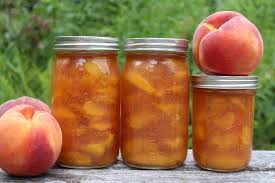
After the processing time, I carefully removed the jars from the canner using my trusty jar lifter and set them on a towel to cool. And then… that glorious “ping!” sound as the jars sealed. Music to a canner’s ears!

I let them cool completely overnight, and this morning, I checked the seals (if the lid doesn’t flex, it’s sealed!). Now I’ve got a beautiful stash of peach pie filling, ready for those cold winter months when I’m craving a taste of summer. Totally worth the effort!


Post Comment