
Alright, so the other day I was craving some banana nut bread, but you know, the usual recipes are loaded with sugar, and that’s a no-go for me since I gotta watch my blood sugar levels. So, I thought, why not try making a diabetic-friendly version? I’ve been experimenting in the kitchen a lot lately, and I figured this would be another fun little project.
First things first, I grabbed my laptop and started looking around to get an idea of how to go about this. I found a bunch of recipes, but nothing really screamed “this is it!” So, I decided to just wing it and create my own. I mean, how hard could it be, right? It’s just measuring, mixing, and baking.
I started by preheating the oven to 350°F, because that’s what most recipes say to do. Then I took a loaf pan and sprayed it with some cooking spray to make sure the bread wouldn’t stick. That’s a lesson learned from past baking adventures – sticky situations are not fun to clean up!
Gathering the Ingredients
Now, for the ingredients, I wanted to keep it simple but also make sure it was suitable for diabetics. Here’s what I came up with:
- Flour: Instead of regular all-purpose flour, I used whole wheat flour. It’s got more fiber, which is good for blood sugar.
- Sweetener: This was the tricky part. I opted for a sugar substitute, but you could use whatever you prefer.
- Eggs: Just a couple of those.
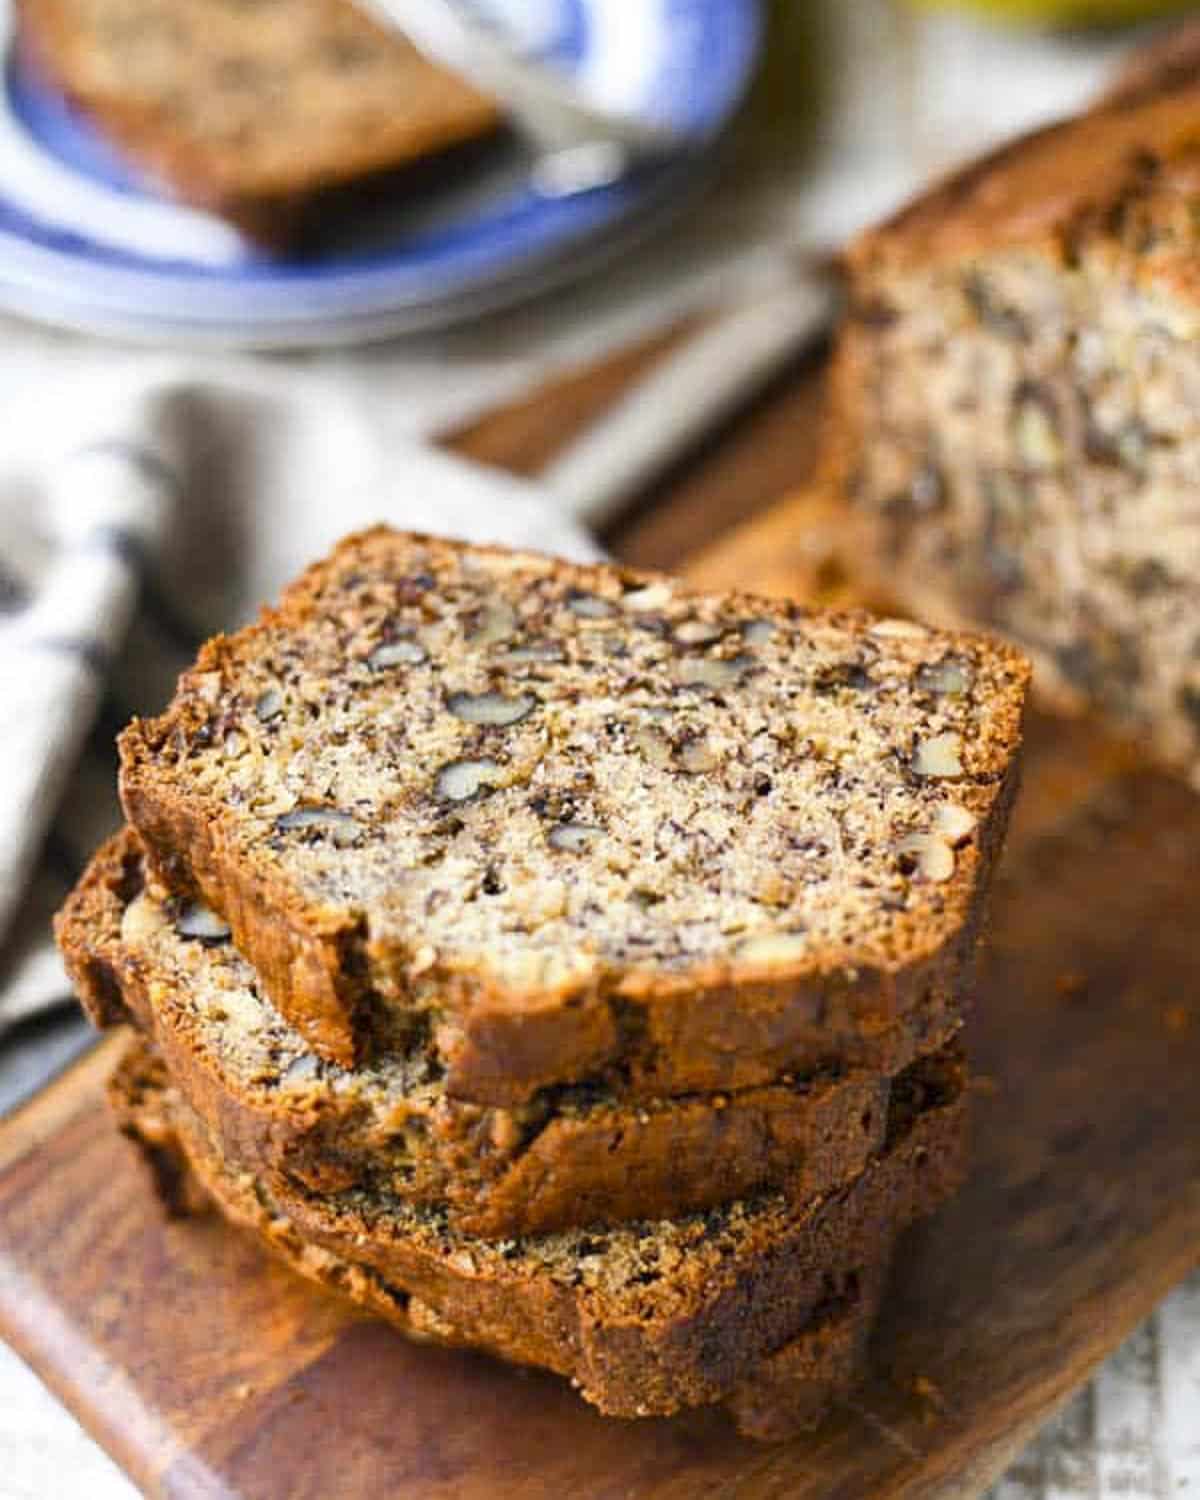
- Bananas: Of course, you can’t have banana bread without bananas! I used three ripe ones.
- Nuts: I love walnuts, so I chopped up a handful.
- Baking soda and salt: Just a pinch of each.
- Oil: I used a little bit of canola oil to keep it moist.
- Milk: Some low-fat milk to get the right consistency.
- Sour cream: A dollop of low-fat sour cream, just because I like the tanginess it adds.
I mixed the dry ingredients in one bowl and the wet ingredients in another. The trick, I figured, was not to overmix. I’d heard that overmixing can make the bread tough, and nobody wants that. So, I gently combined the wet and dry ingredients until they were just mixed. Then, I folded in the mashed bananas and chopped walnuts.
Into the greased loaf pan it went, and then into the oven. I set the timer for about 45 minutes, but I kept an eye on it. You know how ovens can be, sometimes they have a mind of their own. Every oven’s a little different, so I always watch and use the toothpick test.
While it was baking, the whole kitchen started to smell amazing. I was getting excited, and a little nervous, hoping it would turn out okay. After about 45 minutes, I stuck a toothpick in the center, and it came out clean. That means it’s done!
I let it cool for a bit before slicing into it. And let me tell you, it was pretty darn good! Moist, flavorful, and just the right amount of sweetness. It’s always a good feeling when an experiment works out, especially when you can eat the results.
So, there you have it. That’s how I made a diabetic-friendly banana nut bread. It’s not rocket science, just a bit of trial and error, and a whole lot of fun in the kitchen. If you’re looking for a healthier version of banana bread, give it a try. You might be surprised at how easy and delicious it can be!


Post Comment