Okay, here’s my blog post about making a Brown Butter Upside Down Apple Cake, written in a casual, personal style:
So, I tried making this Brown Butter Upside Down Apple Cake thing. I’d seen pictures, it looked amazing, all caramelized and gooey, and I thought, “Yeah, I can do that.” Spoiler alert: it wasn’t quite as easy as it looked, but it was still pretty darn good.
Getting Started (aka The Fun Part)
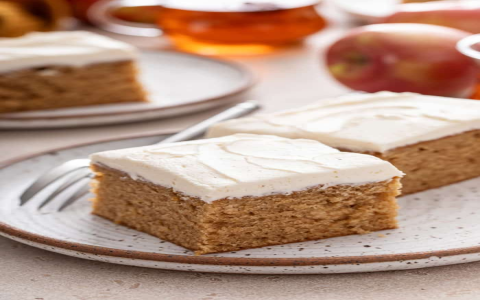
First, I got all my ingredients together. Apples, of course – I used Honeycrisp because, let’s be real, they’re the best. Then the usual suspects: flour, sugar, butter (lots of it!), eggs, baking powder, and some spices like cinnamon and nutmeg. I also grabbed some brown sugar for that caramel-y goodness on top… or bottom, I guess, since it’s upside down.
Browning the Butter (aka The Slightly Scary Part)
Okay, browning butter. This is where things got a little tricky. I melted a whole stick of butter in a saucepan, and you’re supposed to keep swirling it around until it turns this nutty brown color and smells amazing. I was so scared of burning it! I kept sniffing it like a crazy person, and finally, it started to change color. It went from yellow to golden to this light brown, and the smell was incredible. I took it off the heat right away – no burnt butter disasters here!
Making the Batter (aka The Easy Part… Mostly)
I whisked together the dry ingredients – flour, baking powder, salt, and spices. Then, in a separate bowl, I creamed together the (cooled!) brown butter and granulated sugar. Added the eggs one at a time, then slowly mixed in the dry ingredients until it was just combined. Don’t overmix, people! That’s the key to a tender cake.
The Apple Arrangement (aka The Artistic Part)
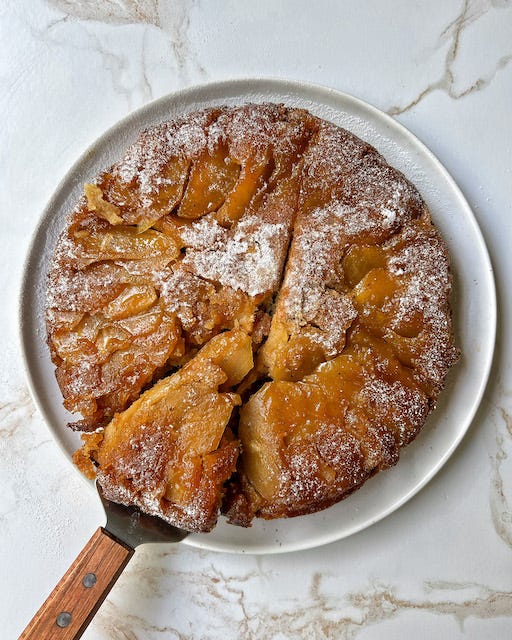
This is where I felt like a true pastry chef (for about five minutes). I melted some more butter in my cast iron skillet (you can use a regular cake pan too, but cast iron is awesome) and stirred in the brown sugar. Then I arranged the apple slices in a pretty pattern on top of that buttery, sugary goodness. It took a little fiddling to get them just right, but it was worth it.
Putting It All Together (aka The Moment of Truth)
I carefully poured the batter over the apples, spread it evenly, and popped the whole thing in the oven. I set the timer and prayed to the baking gods for a good outcome.
The Bake and The Flip (aka The Nail-Biting Part)
The cake baked for about 45 minutes, and my kitchen smelled like apple pie heaven. I took it out, let it cool for a bit (this is important!), and then came the scary part – the flip. I put a plate on top of the skillet, held my breath, and flipped it over as quickly as I could. And… it worked! Mostly. A couple of apple slices stuck to the pan, but I just poked them back on. No biggie.
The Result (aka The Delicious Part)
The cake was gorgeous. Golden brown, with those beautifully caramelized apples on top. And it tasted even better than it looked. The brown butter added this amazing nutty flavor, and the apples were perfectly cooked – soft, but not mushy. I served it warm with a scoop of vanilla ice cream, because why not?
- Lesson learned: Browning butter is totally worth the effort, but watch it like a hawk!
- Lesson learned: Don’t overthink it, it is a cake!
- Lesson learned: Always have vanilla ice cream on hand. Always.
I’d definitely make this again. It was a little more work than my usual dump-and-stir cakes, but the result was so satisfying. Plus, I got to practice my cake-flipping skills. Win-win!


Post Comment